
Beeswax Candle Making: Common Beginner Mistakes Fixed
Most failed beeswax molded candles trace to four root causes: wrong wick size, incorrect fragrance load, off-target pour temperature, and skipped burn testing. Fix all four and most beginner candle errors disappear.
- Wrong wick size. Symptom: tunneling or sooty flame. Fix: measure mold diameter, then size up one step from the equivalent soy/paraffin chart.
- Incorrect fragrance load. Symptom: sweating, weak throw, or bleed. Fix: weigh fragrance on a digital scale; stay within the wax manufacturer’s recommended load.
- Wrong pour temperature. Symptom: frosting, sinkholes, or rough tops. Fix: use a thermometer and follow the wax data sheet temperature range every pour.
- Skipped burn testing. Symptom: unpredictable performance, potential fire hazard. Fix: run 3–4 separate burn sessions before scaling or selling any batch.
Table of Contents
- What are the most common beginner candle making mistakes?
- What beeswax-specific problems appear in silicone molds?
- What tools do you need for beeswax candle making in silicone molds?
- How do you test candles and keep batch logs?
- Quick troubleshooting for visible candle failures
- How long does each step take, and what does a small batch cost?
- How should you use and care for silicone molds?
- How should you store and handle beeswax before use?
- Key Takeaways
- What experienced makers know about failure
- Latviancandles silicone molds for beeswax hobbyists
- FAQ
What are the most common beginner candle making mistakes?
Urban Wick Candle Bar identifies wick size, fragrance load, and temperature as the variables behind most visible failures. Here are the top mistakes in detail.
-
Choosing the wrong wick size. A wick too small leaves a ring of unmelted wax (tunneling). A wick too large produces soot and overheats the mold. Measure the mold’s interior diameter and cross-reference a wick chart rated for beeswax. Buy two adjacent sizes and test both.
-
Guessing fragrance by volume. Pouring fragrance by eye is the fastest route to bleed and poor hot throw. Exceeding the manufacturer’s recommended load causes sweating and weak scent, not stronger scent. Weigh every batch on a digital scale.
Pro Tip: Use a higher-quality fragrance oil at the correct load percentage rather than adding more of a cheaper oil. Cure time, not volume, is what builds hot throw.
-
Overheating or pouring outside the temperature window. Beeswax poured too hot cracks and frosts; poured too cold it sets unevenly. Follow the supplier’s data sheet. A thermometer is not optional.
-
Not centering or securing the wick. In flexible silicone molds, an unsecured wick drifts during the pour. Use a wick holder designed for molds to keep it centered until the wax sets.
-
Skipping wick trimming. Trim to 1/4" before every burn. An untrimmed wick mushrooms, produces soot, and shortens burn time.
-
Rushing cure time. Beeswax candles need 48–168 hours of cure before a valid burn test, depending on fragrance and wax. Burning too early gives a false read on scent throw.
-
Skipping multi-session burn tests. Skipping safety testing is the most hazardous beginner mistake. A candle that looks fine in one burn can behave dangerously after multiple burns.
-
Using non-heat-safe vessels or unsafe add-ins. Mica powder mixed into beeswax clogs wicks. Botanicals embedded in the wax affect burn performance. Use dyes formulated for beeswax only.
Pro Tip: Wick manufacturer charts list diameter ranges for soy and paraffin. For beeswax, move one size up from whatever that chart recommends for your mold’s diameter.
What beeswax-specific problems appear in silicone molds?
Beeswax is denser and more viscous than soy or paraffin. That changes how it behaves in a mold and which fixes actually work.
- Sinkholes and tunneling. Beeswax contracts noticeably as it cools. Leave roughly 1/4" headspace on the first pour, then top up after the initial skin forms. This prevents the sunken crater around the wick.
- Frosting and bloom. A white haze on the surface is natural crystallization. It does not affect burn quality. Controlled, slow cooling away from drafts reduces it. A gentle buff with a soft cloth removes surface bloom on finished candles.
- Cracking. Rapid cooling, drafts, or a pour temperature that is too high all cause cracks. Cool at stable room temperature, away from air conditioning or open windows.
- Wick clogging. Because beeswax is viscous, wick sizing for beeswax typically requires one size larger than an equivalent-diameter soy or paraffin candle. A clogged wick produces a small, unstable flame and poor melt-pool coverage.
- Dye issues. Standard candle dyes work in beeswax, but liquid dyes formulated for beeswax distribute most evenly. Avoid mica mixed into the wax; use it only as a surface decoration on finished, unlit candles.
Pro Tip: Watch for flame mushrooming during burn tests. With beeswax, mushrooming usually signals a wick that is too large or a fragrance load that is too high, not a wax defect.
What tools do you need for beeswax candle making in silicone molds?
A short checklist covers everything needed for a reliable first batch.
- Digital scale (measures fragrance and wax by weight)
- Thermometer (controls melt and pour temperature)
- Double boiler or dedicated wax melter
- Silicone molds sized for your target candle format
- Wick holders for silicone molds (keeps wicks centered in flexible forms)
- Heat-safe work surface
- Batch log (notebook or spreadsheet)
| Item | Why it matters | Quick tip |
|---|---|---|
| Digital scale | Weighs fragrance accurately; prevents overload | Tare the container before each pour |
| Thermometer | Controls pour temp; prevents frosting and cracks | Clip it to the pouring pitcher |
| Wick holder | Keeps wick centered in flexible silicone | Use one per mold cavity |
Wick selection rules. Measure the mold’s interior diameter. Find the wick series recommended for beeswax (cotton-core wicks are the most common starting point). Choose one size larger than the chart suggests for soy at that diameter. Buy the size above and below to test. For detailed beeswax wick guidance, Latviancandles publishes a wick selection guide covering series selection and sizing rules.
How do you test candles and keep batch logs?
“Treat every batch like an experiment. Record the wax type, fragrance load, wick size, and pour temperature — every variable. Without notes, a great candle is just luck you cannot repeat.” — Urban Wick Candle Bar
A valid burn test requires 3–4 separate sessions, not one long burn. Performance changes as the candle burns down, so a single session misses problems that appear mid-candle.
Burn-test checklist:
- Make three identical test candles varying only wick size (one size below target, target, one size above).
- Trim every wick to 1/4" before each session.
- Burn for 3–4 hours per session. Record at the end of each session: melt-pool diameter, flame stability, mushrooming, soot, and any vessel warmth.
- Repeat for 3–4 sessions total.
- Choose the wick that produces a full melt pool with no mushrooming and no soot.
Batch log template:
| Field | What to record |
|---|---|
| Date | Pour date |
| Wax type | Beeswax grade/supplier |
| Wax weight | Grams or ounces |
| Fragrance weight (%) | Weight and percentage of total |
| Wick series/size | Brand, series, size |
| Pour temperature | °F at time of pour |
| Room temp/humidity | Ambient conditions |
| Mold ID | Mold name or SKU |
| Cure time | Hours before first test burn |
| Burn-test notes | Melt pool, flame, soot, mushrooming per session |
A repeatable workflow — one wax, one wick series, one fragrance, one mold format — cuts troubleshooting time significantly when something goes wrong.
Quick troubleshooting for visible candle failures
Match the symptom to the most likely cause, then apply the one-step fix.
- Tunneling → wick too small → test the next size up; extend the first burn until the melt pool reaches the mold edge.
- Soot or large flame → wick too large → size down; trim to 1/4" before every burn.
- Weak hot throw → fragrance added too hot, load too low, or cure too short → check add temperature, weigh fragrance, extend cure time.
- Sinkholes → wax shrinkage during cooling → leave 1/4" headspace; top up after the initial skin forms.
- Frosting → rapid cooling or pour temperature too high → cool slowly at room temperature; adjust pour temp down slightly.
- Flame instability → wick off-center, wick clogged, or draft in the room → re-center wick; check for air movement near the work area.
Diagnostic flow for a failed candle:
- Observe the symptom (tunneling, soot, sinkhole, frosting, weak throw).
- Check the wick: size, centering, trim length.
- Check fragrance load: weigh against the data sheet maximum.
- Check pour temperature: compare thermometer reading to the wax supplier’s range.
- Re-test with one variable changed.
How long does each step take, and what does a small batch cost?
Timeline per batch:
- Melt: 10–30 minutes depending on wax volume.
- Pour and initial cool: 4–12 hours depending on mold size and room temperature.
- Cure: 48–168 hours depending on fragrance and wax type.
- Burn-test sessions: 3–4 sessions across several days.
Simple cost example (one small molded beeswax candle, approximately 3 oz finished weight):
- Beeswax: ~$0.75–$1.00 (at typical US retail of roughly $4–$6 per lb)
- Wick: ~$0.10–$0.15
- Fragrance oil (8% load): ~$0.30–$0.50
- Mold amortized over many pours: ~$0.10–$0.25
Rough per-unit material cost: $1.25–$1.90. Run actual burn-time and material cost calculations before pricing for sale.
How should you use and care for silicone molds?
Silicone molds are durable, but a few handling habits extend their life and reduce pour failures.
- Pre-warm molds slightly (set near, not on, a heat source) to reduce thermal shock from hot beeswax.
- Anchor wicks with a wick holder before pouring. Flexible mold walls flex during handling, and an unsecured wick shifts easily.
- Let the mold cool fully to room temperature before demolding. Pulling beeswax from a warm mold distorts the shape.
- Wash with mild soap and warm water after each use. Dry completely before storing.
- Avoid sharp tools when releasing beeswax shapes. Flex the mold gently from the outside.
- Store molds flat, away from direct sunlight. UV exposure degrades silicone over time.
Pro Tip: For detailed or relief-pattern molds, flex the mold from the base outward rather than pulling the candle straight up. This releases the shape without stressing fine surface details.
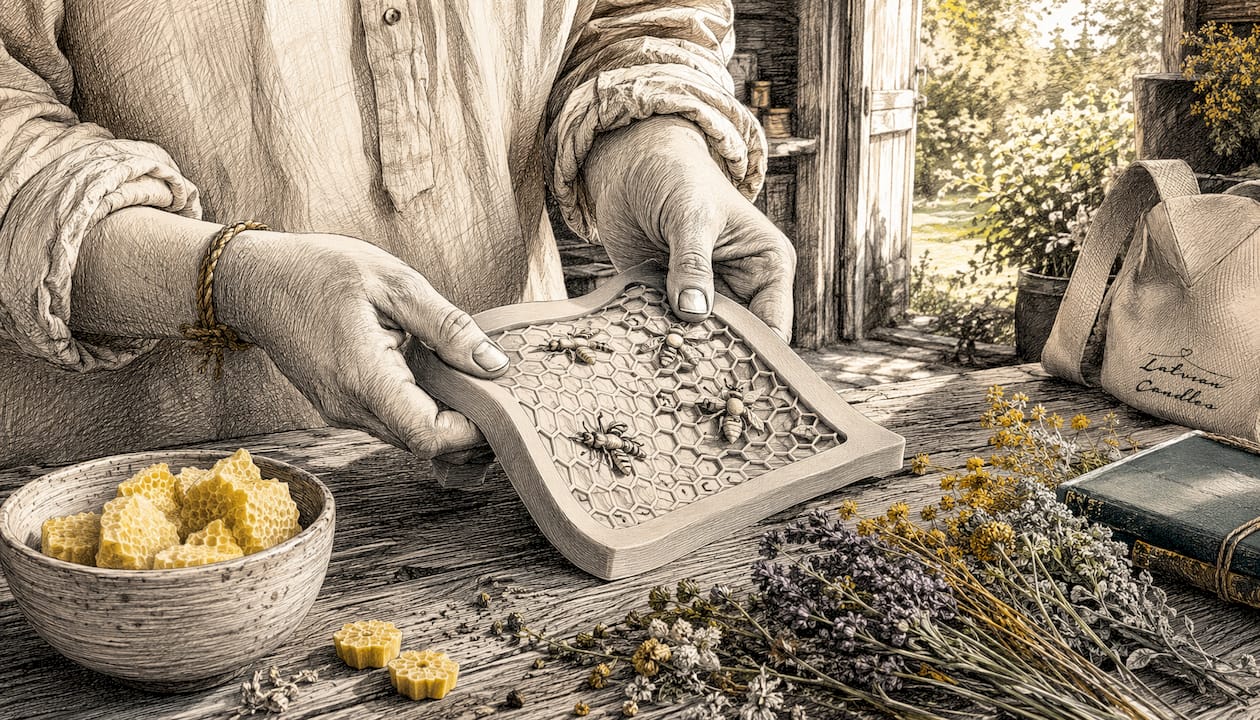
Latviancandles designs its molds specifically for beeswax, with wall thickness and cavity geometry suited to beeswax’s density and shrinkage rate. The wick holders in the Latviancandles accessory range are sized to fit the mold cavities in the catalog.
How should you store and handle beeswax before use?
Raw beeswax picks up odors, dust, and moisture easily. Contaminated wax affects scent throw, surface finish, and burn performance.
Store beeswax in a sealed container or wrapped tightly in plastic, away from strong-smelling materials. A cool, dry location (below 75°F) prevents partial softening and surface oxidation. Avoid storing beeswax near cleaning products, paint, or food with strong odors.
Before melting, inspect each block or pellet. Discard any wax with visible mold, unusual discoloration, or a rancid smell. Wipe down blocks with a dry cloth to remove surface dust before adding them to the melter. Never melt beeswax in a container that previously held incompatible materials without thorough cleaning first.
Key Takeaways
Measuring by weight, following wax data sheets, sizing wicks one step up for beeswax, and running multi-session burn tests are the four habits that prevent most beginner failures.
| Point | Details |
|---|---|
| Wick sizing for beeswax | Size one step larger than soy/paraffin charts recommend for the same mold diameter. |
| Fragrance by weight | Weigh fragrance on a digital scale; never exceed the wax manufacturer’s recommended load. |
| Pour temperature control | Use a thermometer every pour; follow the wax data sheet to prevent frosting and sinkholes. |
| Multi-session burn testing | Run 3–4 separate burn sessions and document melt pool, flame, soot, and mushrooming each time. |
| Latviancandles molds and kits | Latviancandles offers beeswax-specific silicone molds, compatible wick holders, and starter kits for first test batches. |
What experienced makers know about failure
Most beginners assume a failed candle means they chose the wrong wax or the wrong fragrance. The actual culprit is almost always a single variable that was never isolated. Change the wick size between two otherwise identical test candles and the answer becomes obvious within one burn session. Keep the batch log, change one thing at a time, and the craft stops feeling like guesswork. Repeatable results come from controlled small experiments, not intuition.
Latviancandles silicone molds for beeswax hobbyists
Latviancandles offers over 180 handcrafted silicone mold designs built specifically for beeswax, including bee cell pillars, tea lights, tapers, and decorative shapes. Each mold is made from durable silicone with cavity geometry suited to beeswax’s density and shrinkage behavior.

The starter kit collection includes a mold, compatible wick holders, and basic accessories, giving hobbyists a low-variable starting point for the test-batch protocol described above. Wick holders in the range are sized to fit Latviancandles mold cavities, so centering is straightforward even in flexible forms. Browse the full catalog at latviancandles.store to find a mold format that matches your target candle diameter and shape.
Useful sources
- Urban Wick Candle Bar — 12 Candle-Making Mistakes Beginners Make: wick, fragrance, and temperature mistake checklist with symptom-to-fix guidance.
- Jennifer Dawn — Candle-Making Mistakes Beginners Make: multi-session burn-test protocol and batch documentation guidance.
- Just Candles — Top 10 Mistakes to Avoid: safety testing requirements before selling.
- Wax and Wick Lab — Top 5 Candle-Making Mistakes: fragrance load limits and overloading effects.
- Specialist Crafts — Candle Making: A Complete Guide: beeswax wick-sizing rules.
- Shopify — How to Make Candles: headspace and top-up pour technique for sinkholes.
- Pure Candle Supplies — Candle Making Mistakes and How to Fix Them: pour temperature ranges and surface defect causes.
- DIY Products 101 — Candle Making Complete Guide: repeatable single-format workflow for hobbyists scaling to small batches.
FAQ
What wick size should you use for beeswax in a silicone mold?
Choose a wick one size larger than the equivalent soy or paraffin recommendation for your mold’s interior diameter. Beeswax is more viscous, so a standard-sized wick clogs and produces a weak melt pool.
How many burn tests does a beeswax candle need before selling?
Run at least 3–4 separate burn sessions, documenting melt-pool size, flame stability, mushrooming, and soot each time. Performance can change from the top to the bottom of the candle, so a single session is not sufficient.
Why does beeswax candle have a white coating after cooling?
That white haze is natural surface bloom caused by beeswax crystallization. It does not affect burn quality and can be buffed off gently with a soft cloth. Slow, draft-free cooling reduces how much bloom forms.
How much fragrance oil should you add to beeswax?
Stay within the wax manufacturer’s recommended fragrance load. Adding more fragrance than the wax can hold causes sweating and poor burn performance, not a stronger scent.
How long should beeswax candles cure before a burn test?
Allow 48–168 hours of cure time depending on fragrance load and wax type. Burning too early gives an inaccurate read on scent throw and melt-pool behavior.


