
Creative Candle Shape Ideas for Home Beeswax Crafters
The eight most practical creative candle shape ideas for home beeswax work are: honeycomb/bee-cell pillars (two-pour method), sculptural busts (shell-and-inner-core approach), geometric stacked blocks (draft-free wick centering), organic fruit and vegetable forms (flexible silicone release), undulating lantern shells (inner-core burn strategy), fluted tapers (single-pour with precise temperature control), segmented rotatable tops (manual assembly after demolding), and small clustered votives (batch pouring with wick tabs). Each shape has one technique that makes it reliable in beeswax. For the full materials checklist and a step-by-step honeycomb pillar project, see Sections 4 and 5 below.
Table of Contents
- What are the best creative candle shape ideas for home use?
- How do shape and surface affect burn behavior in beeswax candles?
- What materials and tools do you need for beeswax candle making?
- How to make a honeycomb pillar candle at home: step-by-step
- How do you finish and present sculptural beeswax candles?
- Which silicone molds work best for beeswax candle making?
- Key Takeaways
- Why beeswax and purpose-built molds are the right starting point
- Latviancandles molds and starter kits for your first project
- FAQ
What are the best creative candle shape ideas for home use?
Beeswax rewards detail. Its natural rigidity holds fine surface texture better than most soft waxes, and its warm amber tone makes geometric and organic shapes look finished even without dye. The eight categories below cover the range from beginner-friendly to small-batch artisan.
- Honeycomb/bee-cell pillars. Hexagonal cell patterns pressed across a cylindrical surface. Display upright on a wood slice or ceramic plate. Beeswax captures the cell edges cleanly; plan a second top-up pour after the first pour cools to fill the surface depression caused by shrinkage.
- Sculptural busts. Portrait or figure forms that double as shelf art when unlit. Use a shell-and-inner-core approach: the outer form stays intact while an inner pillar burns, preserving the silhouette.
- Geometric stacked blocks. Cube or prism shapes stacked in alternating orientations. Keep the wick centered with a wick bar across the mold opening; draft-free cooling prevents lean.
- Organic fruit and vegetable forms. Lemon, apple, and artichoke shapes made in detailed silicone molds. Beeswax fruit candles generate strong consumer reactions and work well in small home studios.
- Undulating lantern shells. Thin-walled forms with wavy or ribbed exteriors. The outer shell stays intact while the interior hollows, bending light through the surface as the candle burns.
- Fluted tapers. Vertical ridges running the full height of the candle. Pour at 145–155°F and cool slowly; rapid cooling causes ridges to crack.
- Segmented rotatable tops. A base pillar with a separate top piece that can be manually turned to change the silhouette. Interactive candle designs increase engagement and add a tactile, ritual quality to the lighting experience.
- Small clustered votives. Groups of 4–6 small forms poured in a single session. Use wick tabs and a batch-pour workflow; the bee cells tea lights mold is a practical starting point for this format.
Pro Tip: For social media or online listings, photograph sculptural beeswax candles on a matte surface (unfinished wood, linen) with a single diffused light source placed at a 45-degree angle. The warm amber of beeswax reads best in natural or warm-white light; avoid cool LED overhead shots, which flatten the surface texture.
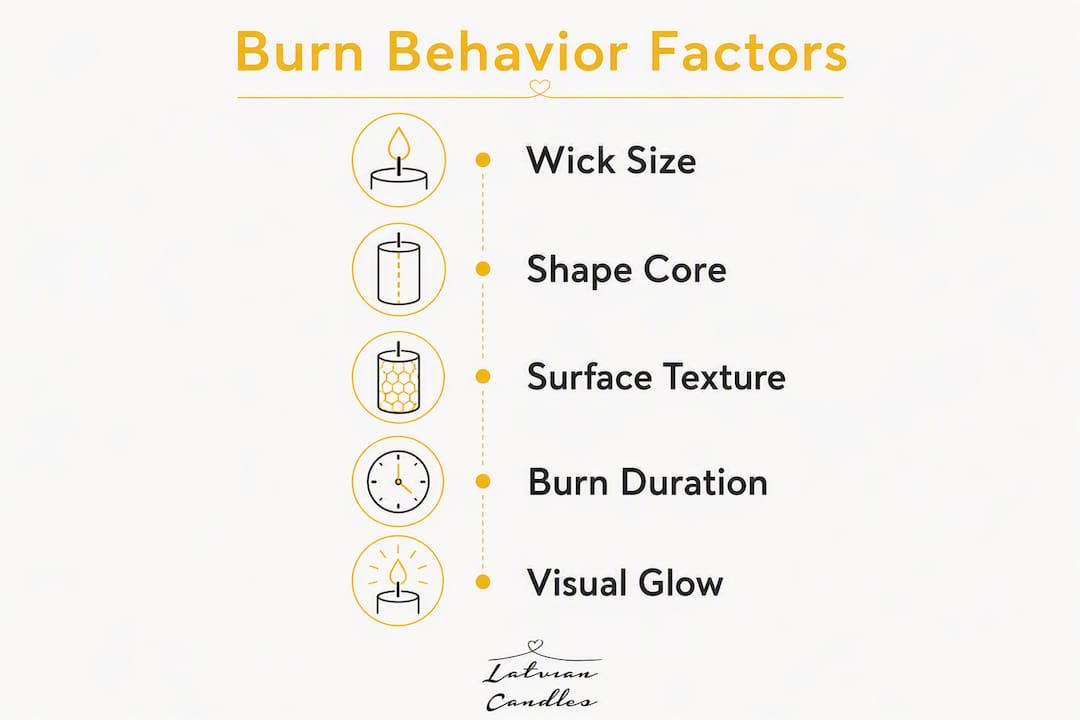
How do shape and surface affect burn behavior in beeswax candles?
Design for the burn first, the silhouette second. A candle that looks striking unlit but collapses or channels on the first burn is a failed project regardless of how good the mold is.
“An outer shell design where only the inner candle burns preserves surface form and produces shifting light as the cavity hollows out, improving the longevity of the sculptural effect. The Japanese lantern-style approach keeps the outer shell intact while the inner candle hollows, letting light filter through the undulating surface throughout the burn life.”
For solid-core sculptural pieces, wick diameter is the primary control. An undersized wick tunnels straight down, leaving thick walls of unburned wax. An oversized wick melts the outer wall too fast, destroying the form. Match wick diameter to the candle’s widest cross-section, not its average width.
Surface undulations and ridges bend and scatter flame glow as the wax thins, which is part of the visual appeal. Keep burn sessions to 20–60 minutes for detailed sculptural pieces to preserve the outer form. Always place sculptural candles on a heat-resistant dish to catch any pooled wax, and never leave them unattended.
What materials and tools do you need for beeswax candle making?
Filtered beeswax, the right wick, and a purpose-built silicone mold cover most of what you need. The table below lists the key mold features to evaluate before buying.
Core materials checklist:
- Filtered beeswax (pellets or blocks, natural yellow or bleached white)
- Cotton or braided cotton wicks sized to pillar diameter
- Phthalate-free fragrance oils (if scented; keep load light to preserve beeswax character)
- Wick centering bar or skewer
- Heatproof pouring pot and a reliable thermometer
- Hot air gun and soft polishing cloth for finishing
| Mold feature | What to look for |
|---|---|
| Flexibility | Food-grade silicone that stretches without tearing |
| Cavity depth | Deep cavities for pillars; shallow for tea lights and votives |
| Detail fidelity | Fine cell or texture definition holds in beeswax at correct pour temp |
| Recommended candle size | Match cavity volume to beeswax rigidity; very thin walls collapse |
| Release design | Draft angles and smooth interior walls reduce demolding damage |
Clean silicone molds with warm soapy water after each use. Avoid sharp tools inside the cavity. Store flat or hanging, away from direct sunlight, to preserve the detail edges.
How to make a honeycomb pillar candle at home: step-by-step
A stable honeycomb pillar with a rotatable top is achievable in a single afternoon using a bee-cells mold and a two-pour workflow. Here is the full process.
Materials:
- Bees on Cells silicone mold (pillar size)
- Filtered beeswax pellets, approximately 8–10 oz per pillar
- Braided cotton wick, sized for the mold’s inner diameter
- Wick tab and centering bar
- Thermometer, pouring pot, hot air gun
- A second smaller mold for the rotatable top segment
Steps:
- Prep the mold. Wipe the cavity with a dry cloth. Thread the wick through the wick tab, press the tab to the mold base, and secure the top of the wick to a centering bar across the mold opening.
- First pour. Melt beeswax to 150–160°F. Pour slowly to avoid air pockets. Fill to about 90% of the cavity. Move the mold to a draft-free surface and allow it to cool fully, at least 2–3 hours.
- Top-up pour. Beeswax shrinks as it cools, leaving a depression at the top. Reheat a small amount of wax to 150°F and pour a thin layer to level the surface. Allow to cool completely.
- Make the rotatable top. Pour a separate small disc or star shape in a second mold. Once set, this piece sits on top of the pillar and can be turned manually to change the display.
- Demold. Gently stretch the silicone mold away from the candle for 3–5 minutes. If the candle resists, place the mold in a freezer for 45 minutes, then try again.
- Trim and test. Trim the wick to 1/4 inch. Burn the prototype for 20–30 minutes and observe the melt pool. It should reach the outer edge within two burn sessions; if it tunnels, upsize the wick.
How do you finish and present sculptural beeswax candles?
Finish for both appearance and burn safety. A candle that looks polished but has an untrimmed wick or an unstable base is a hazard, not a product.
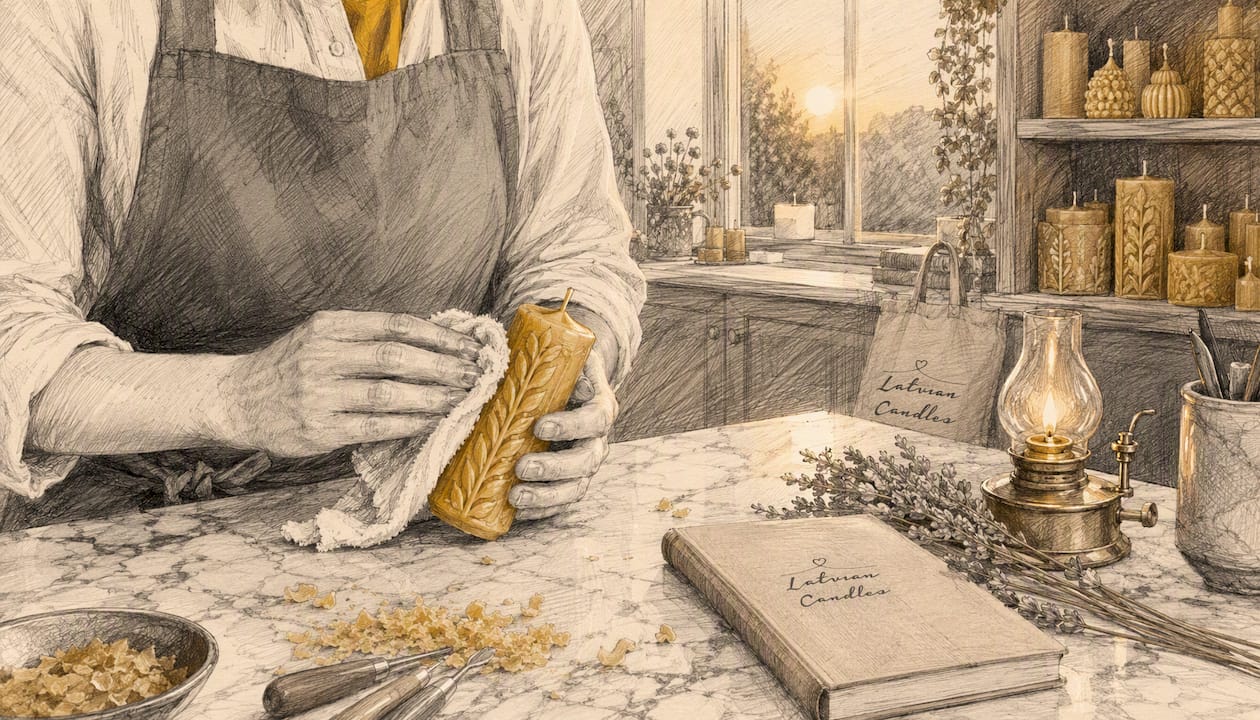
Smooth any surface imperfections with a quick pass from a hot air gun held 6–8 inches away. Buff the cooled surface with a soft cloth to bring out beeswax’s natural sheen. Seal any porous top with a thin second pour if the top-up step left a rough edge.
For scented pieces, add phthalate-free fragrance oils at 150°F, keeping the fragrance load at or below the wax manufacturer’s recommended percentage. Beeswax already carries a light natural honey scent; heavy fragrance loads compete with it and can affect burn quality.
Pro Tip: For gift or retail presentation, attach a small card noting the estimated burn time, wick trim reminder (1/4 inch before each burn), and a note to place the candle on a heat-resistant surface. Buyers who receive burn instructions are less likely to damage a sculptural piece on the first use.
For seasonal or gift-ready packaging, holiday-themed mold designs pair well with kraft paper wrapping and a simple wax seal.
Which silicone molds work best for beeswax candle making?
Prioritize food-grade silicone, cavity scale matched to beeswax rigidity, and easy-release design. Thin-walled or very large cavities can cause beeswax to crack or sag during cooling.
Buying criteria:
- Cavity volume suited to the intended candle height and diameter
- Mold wall thick enough to hold shape during repeated pours
- Fine detail definition for surface textures like honeycomb cells
- Pillar cavities with a height-to-diameter ratio no greater than 3:1 for first projects
- Proven release: smooth interior walls and slight draft angles
Latviancandles has offered purpose-built beeswax silicone molds since 2015, with over 180 designs across pillar, votive, tea light, and sculptural categories. Recommended options for the projects in this guide:
| Mold | Best for | Format |
|---|---|---|
| Bees on Cells mold | Honeycomb pillar project | Pillar |
| Bee Cells Pillars Solo | Larger sculptural pillars | Pillar |
| Bee Cells Tea Lights | Prototyping and small batches | Tea light |
| Daily 2 Sizes mold | Everyday practice pours | Pillar/votive |
| DIY Starter Kit | First-time setup | Kit |
A starter kit that includes wick samples and a thermometer reduces early failures by removing two of the most common variables: wick sizing and pour temperature.
Key Takeaways
Beeswax’s natural rigidity and surface detail retention make it the most practical wax for sculptural candle shapes at home, provided you match mold scale, wick size, and pour temperature correctly.
| Point | Details |
|---|---|
| Two-pour method | Plan a thin top-up pour after the first pour cools to prevent surface depressions from beeswax shrinkage. |
| Shell vs. solid core | Decide early: shell designs preserve sculptural form through the burn; solid cores need precise wick sizing. |
| Demold with patience | Stretch the mold gently for 3–5 minutes; freeze for 45 minutes if the candle resists release. |
| Burn sessions | Keep sculptural candle burns to 20–60 minutes and always use a heat-resistant base. |
| Latviancandles molds | Over 180 beeswax-specific silicone mold designs, including bee-cell pillars and tea lights suited to the projects in this guide. |
Why beeswax and purpose-built molds are the right starting point
Most hobbyists underestimate how much the mold material determines the outcome. A generic plastic mold may hold a simple cylinder, but it will not release a detailed honeycomb cell pattern without tearing the surface. Beeswax is also less forgiving of mold flex than softer waxes: it sets firm and needs a mold that can be peeled away cleanly.
The case for purpose-built silicone is straightforward. Food-grade silicone stretches, releases detail, and survives hundreds of pours without degrading the cavity geometry. Beeswax’s natural honey scent and warm color mean the candle looks and smells finished with no additives. That combination, natural material plus precision mold, is what makes sculptural beeswax work at home without a studio setup.
Latviancandles has built its catalog around exactly this pairing since 2015. The beeswax candle craft content on the site reflects years of practical mold development, not just product listings. Try the honeycomb pillar project once before scaling up. The first pour teaches you more than any checklist can.
Latviancandles molds and starter kits for your first project
The fastest way to start is a curated starter kit paired with a bee-cell mold. Latviancandles designs every mold specifically for beeswax, so cavity scale, wall thickness, and release geometry are already matched to the material.

Three practical starting points from the Latviancandles catalog:
- DIY Candle Making Starter Kit: Includes molds and basic supplies. Removes the guesswork of sourcing compatible components separately.
- Bees on Cells mold: The recommended mold for the honeycomb pillar project in this guide. Food-grade silicone, detailed hexagonal cell surface, pillar format.
- Bee Cells Tea Lights mold: Small-format bee-cell mold for test pours and gift batches. Low wax cost per pour makes it the right tool for prototyping wick sizes before committing to a full pillar.
All Latviancandles molds are made from durable food-grade silicone and designed for repeated beeswax pours. Browse the full 180+ mold catalog to find the shape that fits your next project.
FAQ
What pour temperature works best for beeswax in silicone molds?
Pour filtered beeswax at 150–160°F for most pillar and votive molds. Temperatures above 155°F can cause surface bubbling; below 145°F the wax may not flow into fine detail cavities.
Why does my beeswax candle have a dip at the top after cooling?
Beeswax shrinks as it cools, which creates a surface depression. Plan a second thin top-up pour at 150°F after the first pour has fully set to level the surface.
How do I remove a beeswax candle from a detailed silicone mold?
Stretch the mold gently for 3–5 minutes to release the candle. If it feels stuck, place the mold in a freezer for 45 minutes, then try again.
How long should I burn a sculptural beeswax candle?
Keep burn sessions to 20–60 minutes for detailed sculptural pieces. Short sessions preserve the outer form and prevent excessive heat from reaching the base surface.
Which Latviancandles mold is best for a first honeycomb pillar project?
The Bees on Cells silicone mold is the recommended starting point: pillar format, detailed hexagonal cell surface, and food-grade silicone sized for beeswax rigidity.


