
The Right Pour Temperature for Beeswax in Silicone Molds
Pour pure beeswax into silicone molds between 155°F and 165°F, after melting it fully near 165°F to make sure there are no unmelted clumps. That window matters because it balances two competing forces: wax that’s hot enough to flow into every detail of your mold but cool enough to solidify without pulling itself into sinkholes as it shrinks.
Go above that window and you risk scorching the wax, discoloring it, and cooking off the natural honey scent. Go below it and the wax sets up too fast to fill fine details like bee-cell texture or sharp mold edges. Latviancandles has spent years testing pours across silicone mold designs, and the pattern holds: temperature control, not luck, separates a clean candle from one full of surface flaws.
- Melt beeswax gently to about 165°F, confirming no solid chunks remain
- Pour into the mold at 155°F to 165°F for the best balance of flow and set
- Stay below 185°F at all times to avoid scorching and scent loss
- Expect shrinkage as wax cools, and plan for a top-off pour
Key Takeaways
Beeswax fills silicone molds cleanly when poured between 155°F and 165°F, since that range balances flow into fine detail against shrinkage-driven defects like sinkholes.
| Point | Details |
|---|---|
| Pour window | Keep beeswax between 155°F and 165°F when pouring into silicone molds. |
| Safe maximum | Never let wax exceed 185°F, or it risks scorching and losing scent. |
| Top-off trick | A warm second pour fills sinkholes left by shrinkage during cooling. |
| Test before scaling | Run a small 30 to 50 gram test pour on new wax or new molds before a full batch. |
| Mold source matters | Latviancandles designs its silicone molds specifically for beeswax, supporting the temperature ranges and detail capture described above. |
Table of Contents
- The Role of Wax Temperature in Mold Filling
- How to Melt, Hold, and Pour Beeswax the Right Way
- Fixing Sinkholes, Frosting, and Poor Detail
- Latviancandles’ Simple Test Pour Method
- Sources
- FAQ
The Role of Wax Temperature in Mold Filling
The role of wax temperature in mold filling comes down to viscosity. Hotter wax flows like syrup and finds its way into every crevice of a silicone mold. Cooler wax behaves more like soft butter. It moves slowly, resists fine detail, and can trap air pockets before it has a chance to settle into tight corners.
That difference shows up immediately in mold designs with texture. A bee-cell pattern or a carved folk motif needs wax fluid enough to reach every groove before it starts to gel. Pour too cool, and you’ll see rounded edges where sharp lines should be, or small air bubbles trapped against the mold wall.
Cooling speed is the other half of the equation. Silicone insulates differently than metal or glass, so wax poured into a silicone mold cools from the outside in, forming a skin while the core stays liquid. As that core eventually cools and contracts, it pulls inward, and if there’s not enough liquid wax left to compensate, you get a sinkhole in the top or a hollow near the wick.
- Wax poured too hot cools slowly and shrinks more dramatically as it solidifies
- Wax poured too cool sets before it can capture fine mold detail
- A cooler initial pour followed by a warmer top-off pour reduces shrinkage defects
- Silicone’s insulating properties mean edges cool faster than the center, creating natural stress points
Multiple beekeeping and candle-making guides converge on a 155°F to 165°F range as the sweet spot for pure beeswax, with a hard ceiling near 185°F where damage begins. That’s a narrow band, roughly ten degrees, but it’s wide enough to work with a standard kitchen thermometer and a little patience. The trade-off is real: chase a glassier, smoother surface by pouring hotter, and you increase your shrinkage risk. Chase minimal shrinkage by pouring cooler, and you risk losing surface detail and a matte, uneven finish instead.
How to Melt, Hold, and Pour Beeswax the Right Way
Getting a clean beeswax candle out of a silicone mold isn’t about one perfect number. It’s about a routine you repeat every time until it’s second nature.
- Melt slowly. Use a double boiler and bring beeswax up to around 165°F, stirring occasionally so it melts evenly without scorching at the bottom of the pot.
- Hold and check. Once fully liquid, hold the wax steady and confirm the temperature with an instant-read or candy thermometer. Don’t eyeball this step; beeswax looks liquid well before it’s actually at pour temperature.
- Prep your workspace. Keep the room around 70°F and free of drafts. A cold windowsill or an open door creates uneven cooling that shows up as texture flaws on the finished candle.
- Preheat the mold slightly. A silicone mold at room temperature is fine for most pours, but for detailed designs, warming it slightly with hot water or a hair dryer helps the first wax that touches the surface stay fluid a beat longer, improving detail capture.
- Pour steadily and close to the mold. Hold your pouring pitcher near the mold opening and pour in a slow, steady stream to minimize trapped air.
- Let it rest. Allow the candle to cool undisturbed at room temperature. Don’t move it, tap it, or set it near a fan.
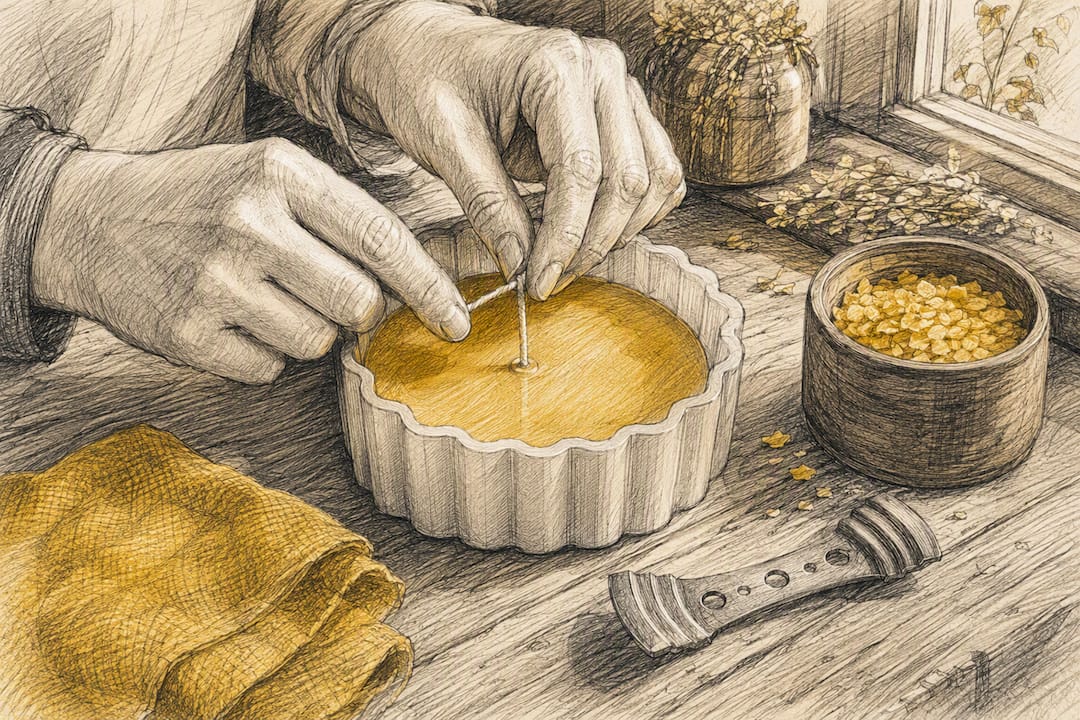
- Top off if needed. Once the surface has firmed up but the candle is still slightly warm, check for a sunken center. If you see one, reheat a small amount of wax to the higher end of your pour window and pour a thin top-off layer to fill the depression.
Tools worth having on hand: a reliable thermometer, a double boiler or wax-melting pot, and a pouring pitcher with a narrow spout for control. None of this needs to be expensive equipment, but skipping the thermometer is the single most common reason hobbyist pours go wrong.
Pro Tip: Keep your first pour on the cooler side of your window, around 155°F to 158°F. It shrinks less dramatically, which makes your top-off pour smaller, faster, and easier to blend seamlessly into the surface.
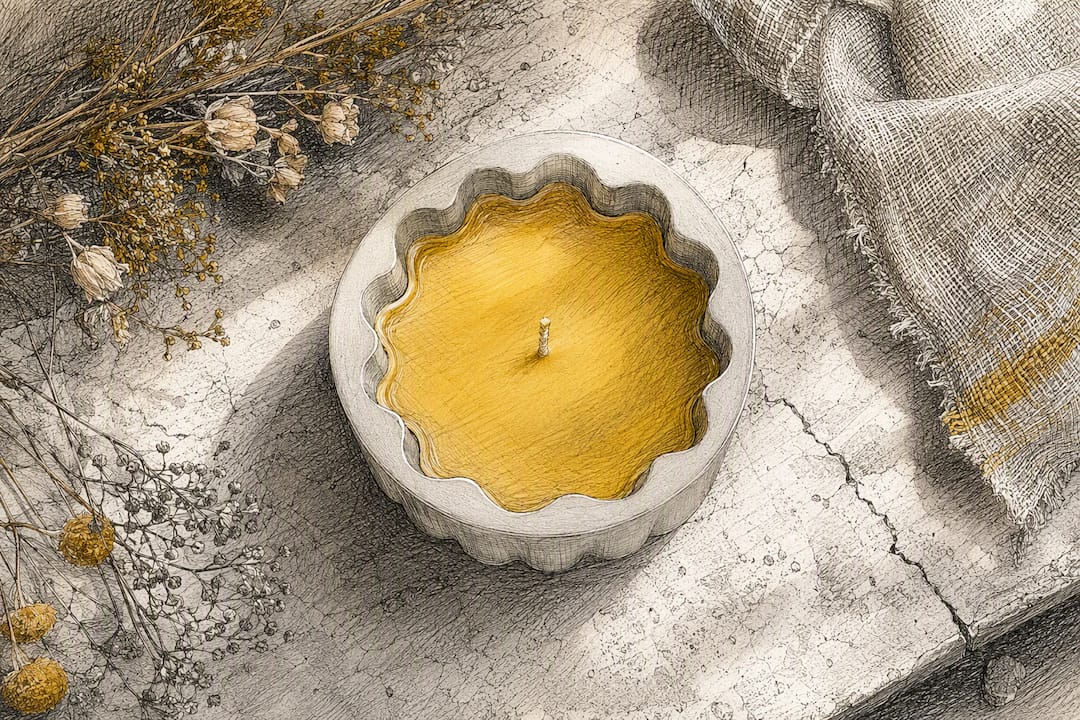
Fixing Sinkholes, Frosting, and Poor Detail
Most beeswax defects trace back to one of two mistakes: pouring outside the recommended temperature window, or cooling the candle too fast. Here’s how to read the signs and correct course.
- Sinkholes near the wick or top surface usually mean the wax cooled and shrank faster than it could be replenished. Fix it with a warm top-off pour once the surface has set but the core is still soft.
- Frosting or a dull, uneven surface often points to wax poured too cool, or a mold that was cold when the wax hit it. Try preheating the mold slightly next time.
- Cracking near the base can happen when a candle cools too quickly, especially near a drafty window or under a fan. Move your workspace and avoid forced cooling methods entirely.
- Poor detail capture on textured molds almost always means the pour was too cool or too slow, letting the wax skin over before it filled the mold’s fine lines.
- Discoloration or a scorched smell signals overheating, usually past 185°F, and that batch of wax should be considered compromised for anything but remelting scrap.
A quick post-pour check tells you a lot. Run a finger lightly over the surface once it’s firm. It should feel smooth and slightly waxy, not gritty or greasy. Press gently near the center after an hour. If it still gives noticeably, the core hasn’t set yet, and that’s normal for larger pillar shapes.
| Defect | Likely Cause | Fix |
|---|---|---|
| Sinkhole | Pour too hot, insufficient wax for shrinkage | Warm top-off pour once surface sets |
| Frosting | Mold or wax too cool at pour time | Preheat mold slightly, pour within window |
| Cracking | Rapid or uneven cooling | Move away from drafts, avoid fans |
| Poor detail | Wax too cool, poured too slowly | Pour steady, slightly warmer next batch |
Latviancandles’ Simple Test Pour Method
Beeswax varies by hive, season, and supplier, which means the exact same recipe can behave differently from batch to batch. Latviancandles runs small test pours before committing to a full batch on any new mold design, and it’s a habit worth borrowing for your own workbench.
- Melt a small test batch, around 30 to 50 grams, and pour it into your mold at your target temperature
- Let it cool fully, then inspect for sinkholes, frosting, or soft detail before scaling up
- Adjust your pour temperature by a few degrees in either direction based on what you see, then repeat
- Store silicone molds away from direct heat sources and avoid leaving hot wax sitting in a mold longer than needed, since repeated heat exposure over time can shorten a mold’s lifespan
- Silicone molds designed specifically for beeswax, rather than general-purpose molds, tend to hold detail better across repeated pours
This kind of small-scale testing takes maybe fifteen minutes and saves you a full batch of wasted wax when you’re working with an unfamiliar mold or a new supplier’s beeswax.
A Family Note on Patience and Practice
Since 2015, our family has poured more test batches than we can count, and the lesson never changes: beeswax rewards patience over speed. Start small, write down what works, and adjust. If you want a curated starting point, our starter kit pairs beginner-friendly molds with the right tools.
Molds and Tools Built for These Exact Temperatures
If you’ve read this far, you already know that a mold that handles heat inconsistently will undo even a perfect pour. That’s the gap Latviancandles fills: silicone molds designed and tested specifically for beeswax, not adapted from soy or paraffin use, so the temperature guidance above actually holds up in practice.

Our catalog includes more than 180 silicone designs, from detailed bee-cell patterns to simple pillar shapes, each one tested against the pour windows and cooling behavior described here. The Well Mark silicone mold is a solid example of a design built to hold fine detail without demanding a razor-thin temperature margin. For readers just getting started, the DIY candle making starter kit bundles a beginner-friendly mold with the thermometer and pouring tools this article recommends, so you’re not guessing at what to buy alongside your first batch. Browse the full Latviancandles collection and pick a mold that matches the project you have in mind.
Sources
- What Is The Ideal Pouring Temperature For Pure Beeswax Candles? Expert Guide For A Flawless, Professional Finish - HonestBee
- Preventing Sinkholes: Tips For Perfect Beeswax Candles | CyCandle
- Beekeepingmadeeasy
FAQ
What temperature should I pour beeswax into a silicone mold?
Pour beeswax between 155°F and 165°F for the best balance of flow into mold detail and minimal shrinkage as it cools.
What is the safe maximum temperature for melting beeswax?
Keep beeswax below 185°F. Past that point, it risks scorching, discoloration, and loss of its natural scent.
Why does my beeswax candle have a sinkhole?
Sinkholes form when wax shrinks as it cools and there isn’t enough liquid wax left to fill the gap. A warm top-off pour once the surface sets usually fixes it.
Should I preheat my silicone mold before pouring?
Preheating isn’t required for every pour, but for molds with fine detail, a slightly warmed mold helps the wax stay fluid a bit longer and capture sharper lines.
Are Latviancandles’ silicone molds designed for beeswax specifically?
Yes. Latviancandles builds its molds for beeswax use, which is part of why they hold detail well within the recommended pour temperature range.


