
Beeswax Makers: Workshop Tested 160–165°F Pour, 2–3 Hours Freeze
Most silicone mold deformation happens for one of two reasons: heat-softened silicone under lateral pressure from hot beeswax, or slow compression from bad storage. The fix right now is simple. Set the mold on a flat, well-supported surface, let it cool undisturbed, and resist the urge to force anything loose while it’s still warm. The sections below cover exact pour temperatures, support methods, and storage habits that stop this from happening again.
TL;DR:
- Silicone molds are most prone to deformation from heat softening and unsupported lateral pressure, especially in tall or detailed shapes.
- Cooling the mold undisturbed on a flat surface and adding external support during and after pouring can prevent warping and creases.
- Maintaining pouring temperatures between 160°F and 165°F reduces thermal stress and surface issues, with external support measures further minimizing deformation risks.
- Proper cleaning with mild soap and careful storage—flat or lightly upright wrapped in paper towels—significantly prolongs mold integrity and detail retention.
- Using molds designed specifically for beeswax, which account for its pour temperature and cooling properties, results in fewer shape distortions over time.
Table of Contents
- What Makes Silicone Molds Warp, Crease, or Lose Detail
- What to Do Right Now if Your Mold Looks Deformed
- How to Pour and Demold Beeswax Without Warping the Mold
- Cleaning, Storage, and Long-Term Care That Prevents Permanent Damage
- Quick Troubleshooting Checklist for Common Mold Problems
- What Latvian Candles Has Learned From Workshop Testing
- Why Detail and Durability Are Always in Tension
- Molds and Accessories Built to Resist Warping
- Sources
- FAQ
What Makes Silicone Molds Warp, Crease, or Lose Detail
Silicone stays flexible by design, and that flexibility is exactly what gets exploited when things go wrong. Once silicone warms past a certain point, it softens further and loses some of its ability to hold a shape against pressure. Pour hot beeswax into a soft, unsupported mold and the walls bow outward under hydrostatic pressure before the wax has a chance to firm up and brace itself.
A few other culprits show up constantly in troubleshooting reports:
- Direct heat or sunlight exposure, which accelerates softening even before you pour anything.
- Lateral pressure from unsupported walls, especially in tall or narrow cavities that have no external bracing.
- Compression from storage, where stacking molds or nesting them tightly flattens cavities over weeks or months.
- Forced demolding, pulling a candle out while the wax or silicone is still warm and pliable, which stretches thin edges permanently.
- Tacky or residue-coated surfaces, which invite rougher handling because the mold feels harder to release cleanly.
Each of these traces back to the same idea: silicone can absorb a lot of abuse, but heat and sustained pressure are the two forces it can’t fully resist forever.
What to Do Right Now if Your Mold Looks Deformed
Stop touching it. That’s step one, and it matters more than people expect, because handling a warm, soft mold is what turns a minor issue into a permanent one.
- Move the mold to a level, cool, draft-free surface. Uneven counters or nearby heat sources (a stove, a sunny windowsill) will make the deformation worse while you’re trying to assess it.
- Add temporary external support. A snug cardboard box, a bed of dry rice, or a sand-filled tray around the mold holds the walls in position while everything cools evenly.
- Once the wax has mostly set, try a cautious chill. A brief stint in the freezer, roughly 2 to 3 hours, can help release stubborn shapes, but cover the mold loosely to limit condensation buildup, and let it come fully back to room temperature and dry completely before you touch the cavity or reuse it. Prolonged or repeated chilling risks condensation and surface dulling, so treat this as an occasional fix, not a routine step.
- Inspect before you decide anything is ruined. Shallow compression lines or a slightly dulled surface usually bounce back once the mold returns to room temperature. Torn seams, permanently ovaled cavities, or cracks along a detail line are a different story. Those don’t self-correct.
Pro Tip: Keep a small notebook by your pouring station and jot down what the mold looked like before you chilled or reheated it. Comparing “before” and “after” notes makes it much easier to tell temporary softening from actual damage.
How to Pour and Demold Beeswax Without Warping the Mold
Temperature control does more preventive work than any storage trick ever will. Beeswax generally pours well between about 144°F (62°C) and 185°F (85°C), and most experienced makers narrow that further to a 160°F to 165°F window, which balances flow with a cleaner surface finish and reduces the thermal shock that stresses mold walls.
A few habits make a bigger difference than most people assume:
- Support the mold before you pour, not after. Tall or thin-walled designs benefit enormously from an external jacket. A cardboard sleeve or a rice-and-sand bed around the mold prevents the bowing that happens when molten wax pushes outward with nothing to brace against.
- Pour in one steady, continuous stream. Pausing mid-pour creates uneven cooling and visible jump lines, and it tends to make the candle harder to release cleanly later, which invites the rough handling that stretches mold walls.
- Let the mold sit close to room temperature before you pour, or slightly warmer. A mold that’s just above ambient temperature reduces bubbling and thermal shock compared to pouring hot wax into a cold mold.
- Wait until the surface is firm and the mold has cooled to ambient before demolding. Peel the silicone away from the candle. Never pull the candle out of the mold by force.
- Save chilling for genuinely stuck pieces, and manage condensation carefully when you do.
Cleaning, Storage, and Long-Term Care That Prevents Permanent Damage
Deformation isn’t always a single dramatic event. Sometimes it’s the slow result of six months of bad storage habits, and by the time you notice, the damage is already set.
Cleaning routines matter more than most makers realize. Wash molds with lukewarm water and a mild liquid soap, using a soft sponge rather than anything abrasive. Skip harsh solvents entirely. They break down the surface properties that give silicone its non-stick release. Once clean, rinse and let the mold air dry completely before storing it. Never run it through a dishwasher, and never seal it away damp.
Storage habits are where long-term deformation quietly builds:
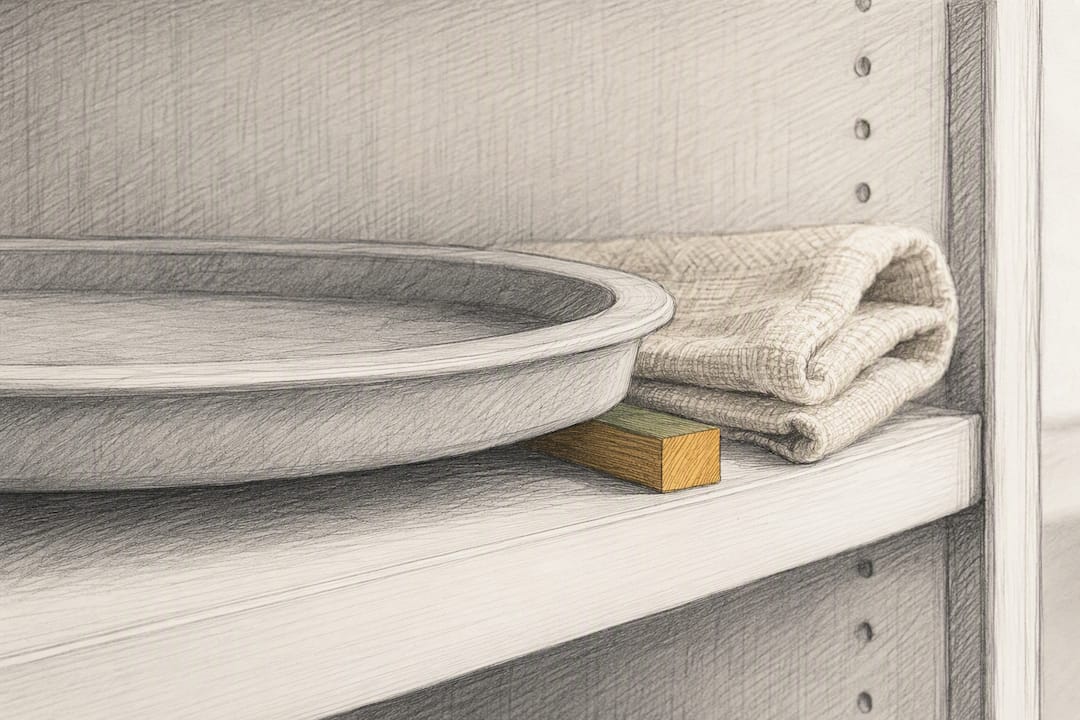
- Store molds flat or lightly supported upright, never stacked under heavy items. Stacking causes permanent flattening and cavity detail loss over time.
- Wrap molds in paper towels rather than sealing them in plastic, which traps humidity and can lead to tackiness or odor transfer.
- Insert a paper towel between nested molds if you’re storing several of the same shape together.
- Inspect and rotate your stock periodically. Molds that develop tears, deep warps, or blurred cavity detail are done. Retire them rather than pushing for one more batch.
Pro Tip: A mild soap and lukewarm water routine, borrowed from general candle care basics, works just as well on silicone molds as it does on the finished candles themselves.
Quick Troubleshooting Checklist for Common Mold Problems
Matching a symptom to its cause saves you from repeating the same mistake batch after batch.
- Compression line across a flat surface → usually caused by stacking or tight storage → flatten the mold, add support while it recovers, and retire it if the line reappears after multiple uses.
- Bowed wall right after pouring → support failure during the pour → cool the mold fully, add support next time, and use an external cardboard or rice jacket for anything tall or thin walled.
- Torn seam or cracked detail line → forced demolding or overstretching → this is permanent damage; retire the mold and note the pour temperature that led to it.
- Dull, tacky surface → residue buildup or harsh cleaner → rewash with mild soap and lukewarm water, then air dry fully before the next pour.
Change one variable at a time when you’re testing a fix, and log the result. A defect log sounds tedious until it saves you from repeating the same warping mistake three batches in a row.
What Latvian Candles Has Learned From Workshop Testing
Some of the most useful mold-care habits come from watching what actually happens on a workbench, not from a lab. Latvian Candles has documented its own freeze-for-2-to-3-hours release method in detail, built from repeated workshop trials rather than a single test run.
A few things stand out from that experience:
- Covering the mold loosely during the freeze step cuts down on condensation forming inside the cavity.
- Full drying before the next pour matters as much as the freeze step itself. Skipping it leads to surface dulling on the next candle.
- Wick holders reduce handling stress on tall or narrow molds by keeping the wick centered without makers needing to grip or tilt the mold mid-pour.
For anyone who wants the full walkthrough, the brand’s workshop-tested mold care guide covers cleaning steps and support techniques for delicate corners and seams in more depth than a single troubleshooting article can.
Why Detail and Durability Are Always in Tension
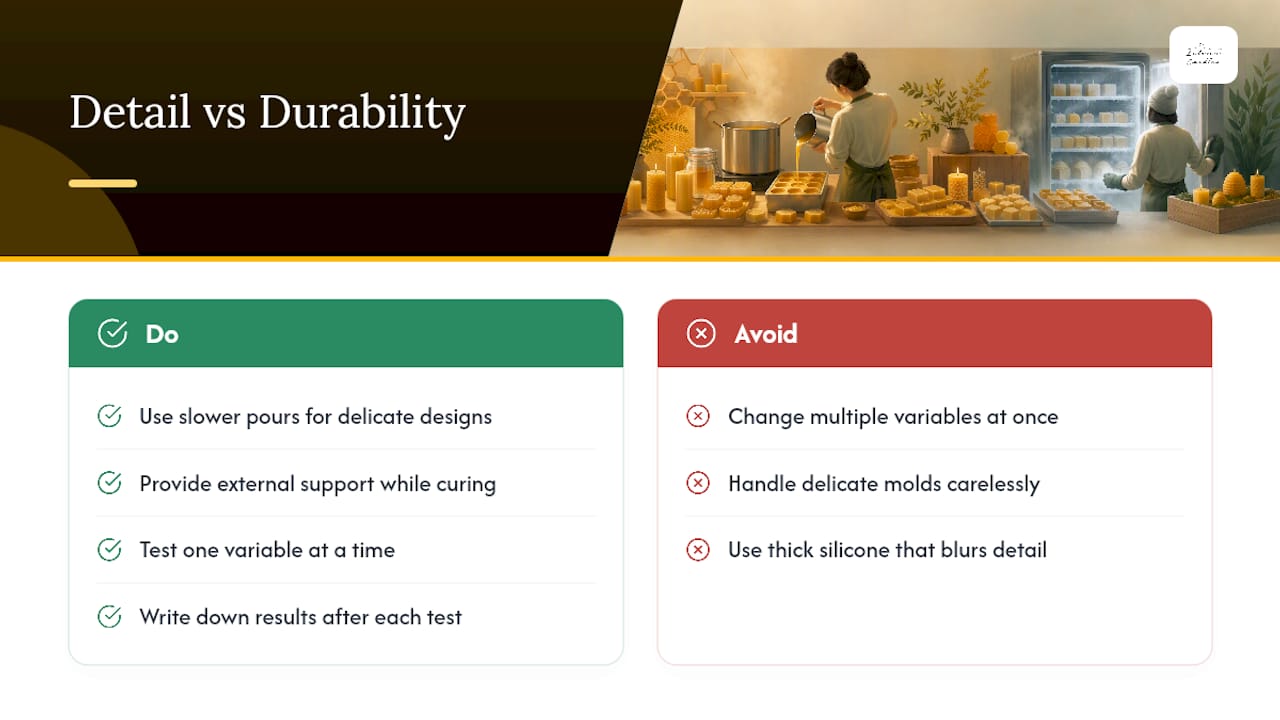
Intricate molds, fine bee-cell textures, sharp seams, thin taper walls, are the ones most likely to deform, and that’s not a coincidence. Detail requires thin silicone in places where thick, forgiving silicone would blur the shape. That tradeoff means delicate designs need slower pours, better external support, and more careful handling than a simple pillar mold ever will.
Most of the deformation problems covered here are avoidable with small process changes, not a whole new setup. Test one variable at a time, write down what happens, and let the pattern tell you what’s actually causing the warp.
— Marks
Molds and Accessories Built to Resist Warping
Some silicone mold producers design molds specifically for beeswax, not adapted from soy or paraffin templates that flex differently under heat. That distinction shows up most in tall or detailed shapes, where a mold built with beeswax’s pour temperature and cooling behavior in mind holds its cavity shape better than a generic one over repeated use.

If wall bowing has been a recurring problem, the bee cell pattern collection uses thicker-walled designs built to resist lateral pressure during pours, a common trouble spot for pillar-style candles. Wick misalignment is a separate but related headache, and the wick holders for silicone candle molds keep the wick centered without you needing to grip or tilt the mold while wax is still liquid, which cuts down on the handling that stretches thin walls. Across the full catalog, Latvian Candles offers more than 180 mold designs, all made specifically for beeswax rather than general-purpose wax blends. Browse the full collection to find a shape that fits your next batch, or check the taper candle molds if tall, thin-walled designs have been giving you trouble.
Sources
- How to Clean and Care for Silicone Candle Moulds
- How to Clean and Store Candle Molds to Prevent Damage and Distortion - DIY Products 101
- How Should You Pour Beeswax Into A Silicone Mold? A Step-By-Step Guide To Perfect Castings - HonestBee
FAQ
What Temperature Should I Pour Beeswax at to Avoid Mold Damage?
Aim for a pour window of about 160°F to 165°F, within the broader safe range of 144°F to 185°F, to balance flow with a clean, low-stress surface finish.
Can a Warped Silicone Mold Be Fixed?
Shallow compression lines and minor softening often resolve once the mold cools fully and returns to a flat, supported surface, but torn seams or permanently ovaled cavities are not repairable.
Is Freezing a Silicone Mold Safe for Beeswax Release?
A brief 2 to 3 hour freeze can help release stubborn beeswax candles, but cover the mold to limit condensation and let it dry completely before reuse to avoid surface dulling.
How Should I Store Silicone Molds Between Uses?
Store them flat or lightly supported upright, wrapped in paper towels rather than sealed plastic, and never stacked under heavy items that cause long-term compression.
Do Beeswax-Specific Molds Deform Less Than General-Purpose Ones?
Molds built with beeswax’s pour temperature and cooling behavior in mind, like the designs Latvian Candles produces, tend to hold their shape better across repeated pours than molds adapted from soy or paraffin templates.


