
Freeze 2–3 Hours to Remove Beeswax and Preserve Mold Detail
The fastest safe way to clean beeswax from a silicone mold is simple: pull out the solid wax by freezing or flexing the mold, wash it warm with mild detergent to lift oily film, spot-treat sticky residue with isopropyl alcohol or diluted vinegar, then rinse and air-dry fully before storing it flat. Skip the dishwasher, skip scalding water, skip abrasive pads, and never pour melted wax down a drain.
TL;DR:
- Freezing the mold for two to three hours makes beeswax brittle and easier to remove without tearing the silicone walls.
- Washing in warm, soapy water with a soft cloth or sponge effectively lifts oily residue from textured inner details.
- Using isopropyl alcohol or diluted vinegar helps remove stubborn fragrance oils and light stains without damaging silicone surfaces.
- Avoid dishwashers, scalding water, abrasive pads, and strong solvents like acetone, as they can warp or degrade the silicone mold.
- Proper storage involves air-drying the mold completely, keeping it flat, and labeling it to prevent scent contamination.
Table of Contents
- Quick Checklist for Formas Tīrīšana Pēc Liešanas
- What’s the Best Way to Remove Wax and Residue From Silicone?
- Why Won’t My Mold Come Fully Clean?
- How Should You Dry and Store Silicone Molds?
- How Long Do Silicone Molds Actually Last?
- Shop Notes on Mold Care From Latvian Candles
- Molds Built for Easier Beeswax Cleanup
- Sources
- FAQ
Quick Checklist for Formas Tīrīšana Pēc Liešanas
This is the routine to run right after every pour, whether you just poured one taper or a full tray of tea lights.
- Let the wax set completely and cool to room temperature before touching the mold.
- Collect any loose wax flakes or drips into a container instead of the trash or sink.
- Freeze the mold for several hours to aid wax removal or gently flex it to pop out large wax pieces.
- Wash with warm, soapy water using a soft cloth or sponge to remove the oily film with help from a plastic-free commercial cleaning cloth.
- Spot-clean sticky or fragrant patches with isopropyl alcohol or white vinegar.
- Rinse thoroughly, air-dry completely, and store the mold flat away from heat and sunlight.
The remaining cases (stuck mica, discoloration, warped edges) get their own fixes further down, but for a standard beeswax pour, this checklist is the whole job.
What’s the Best Way to Remove Wax and Residue From Silicone?
Cleaning a beeswax mold well comes down to sequencing: remove the bulk wax mechanically first, then deal with the thin oily film that’s left behind. Trying to skip straight to soap and water on a mold still coated in solid wax just smears it around and clogs your sink. Letting the wax fully harden and then flexing the mold to peel it away is the standard first move, and it works because cooled beeswax releases cleanly from silicone once it’s had time to contract.
The freezer method. Pop the mold into the freezer for two to three hours. Cold makes beeswax brittle, and a few hours in the freezer is usually enough to make hardened wax easy to release with a gentle bend. Flex the silicone slowly from the edges inward rather than yanking at one corner. Rushing this step is how thin mold walls tear.
The warm soapy wash. Once the bulk wax is out, wash the mold in warm water, not hot, with a few drops of a mild dish detergent. Soaking in warm soapy water and scrubbing gently with a soft-bristle brush lifts the thin residue that clings to fine detail lines, which matters most on textured designs like honeycomb or bee-cell patterns where every groove holds a little oil.
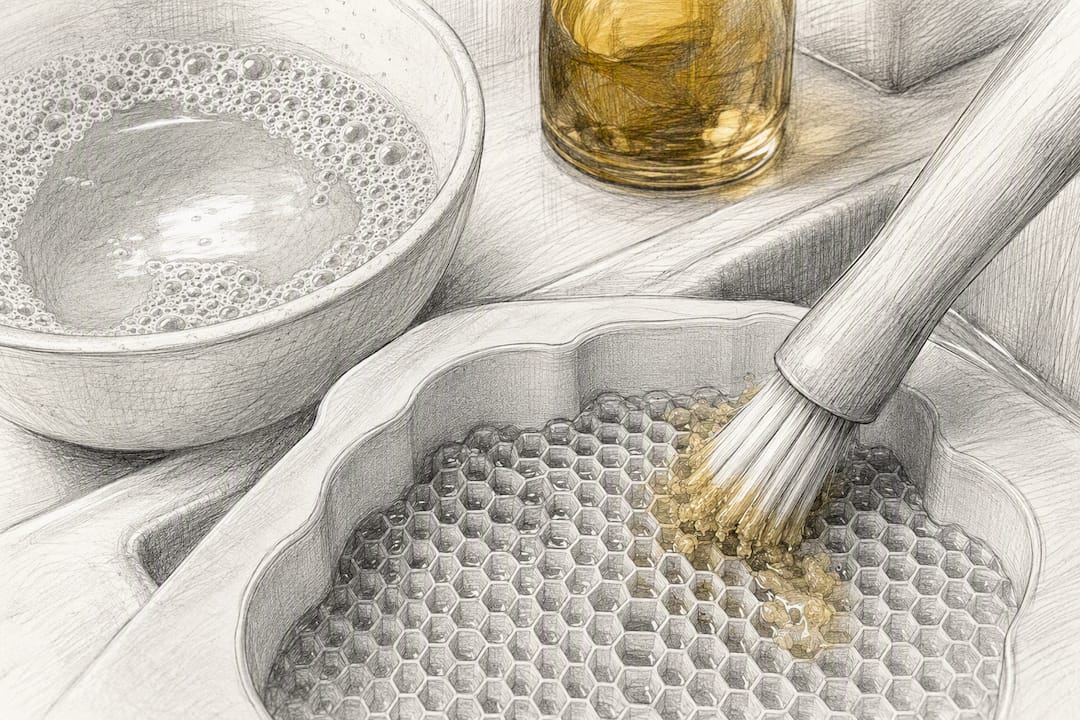
Isopropyl alcohol for stubborn film. For fragrance oil residue or lingering tackiness, dampen a cloth with 70 to 90% isopropyl alcohol and rub the affected area, then rinse well. Rubbing alcohol cuts through waxy buildup and fragrance oils effectively when used sparingly and rinsed afterward. Work in a ventilated room. Alcohol fumes aren’t dangerous in small doses, but there’s no reason to breathe them in a closed kitchen.
Vinegar and baking soda, the natural option. If you’d rather skip alcohol, white vinegar or a baking soda paste can lift stains and odors from silicone molds as gentler alternatives to chemical solvents. Mix baking soda with a splash of water into a paste, apply, let sit five to ten minutes, then rinse. For vinegar, a one to one dilution with water and a short soak of ten to fifteen minutes handles most odor and light discoloration.
What to avoid entirely:
- Dishwashers and scalding water, which can warp silicone over repeated cycles
- Acetone or other strong solvents, which degrade silicone surfaces
- Metal scrapers, steel wool, or any abrasive pad
- Abrasive cleaners in general, since they scratch silicone and trap residue in the scratches rather than removing it
Pro Tip: Wash a brand-new mold before its first pour. Manufacturing residue left on the silicone can transfer into your first batch of wax, and washing new molds before first use removes that residue before it ever touches your wick or wax.
Why Won’t My Mold Come Fully Clean?
Most mold problems trace back to one of four causes, and each one has a fix that doesn’t require replacing the mold.
- Sticky patches from fragrance oil (FO). Fragrance oils leave a tackier film than plain beeswax. Wipe the area with isopropyl alcohol two or three times, letting it evaporate between passes, then follow with a full warm soapy wash.
- Stuck mica or pigment. Mica and colorants can settle into detail lines and resist a plain wash. A soft baking soda paste, worked in gently with fingertips (never a brush with hard bristles) and rinsed thoroughly, usually lifts it without damaging fine texture.
- Discoloration. Cosmetic staining, a slight yellow or pink tint from dye, isn’t a structural problem and won’t affect release or safety. Discoloration paired with a rough, sticky, or tacky surface texture is different. That signals the silicone itself is breaking down, and it’s a sign to retire the mold.
- Warped shape. A mold that’s been near a heat source or left in a hot car can lose its shape slightly. Gentle reshaping by hand while the silicone is at room temperature sometimes restores it. If the mold won’t hold its form after reshaping, or if a cavity is visibly distorted, replacing it is safer than fighting a shape that will keep affecting your castings.
How Should You Dry and Store Silicone Molds?
Drying matters more than most candle makers assume. A mold that goes into storage even slightly damp can develop a musty smell that transfers straight into your next batch of beeswax.
- Air-dry the mold completely before putting it away. Don’t rush this with a hair dryer or by setting it near a heater.
- Keep molds away from any heat source during drying and storage. Direct sun through a window counts.
- Store molds flat, or nested with a layer of clean tissue between them, rather than stacked and squeezed into a bin.
- Label molds by the fragrance oil last used in them. Scent residue can linger even after washing, and an unlabeled mold is how a lavender scent ends up faintly haunting your unscented batch.
Following the same care steps outlined in our guide to using Latvian Candles molds keeps detail crisp pour after pour, especially on designs with narrow honeycomb walls where trapped moisture shows up fastest.
How Long Do Silicone Molds Actually Last?
A silicone mold cleaned properly after every pour can handle dozens of castings before it shows real wear. The routine that gets you there is straightforward: clean after every single use, not just when it looks dirty, and run a deeper clean (full alcohol wipe plus soapy wash) after any batch that used heavy fragrance oil concentrations.
Avoid prolonged sun exposure and skip harsh chemical solvents outside of the isopropyl alcohol and vinegar already covered. Beyond that, the job is mostly inspection. Check periodically for thinning walls, small tears near the edges, or softened detail lines that used to be sharp. Reinforcing molds properly can help them survive more pours without those failure points showing up early.
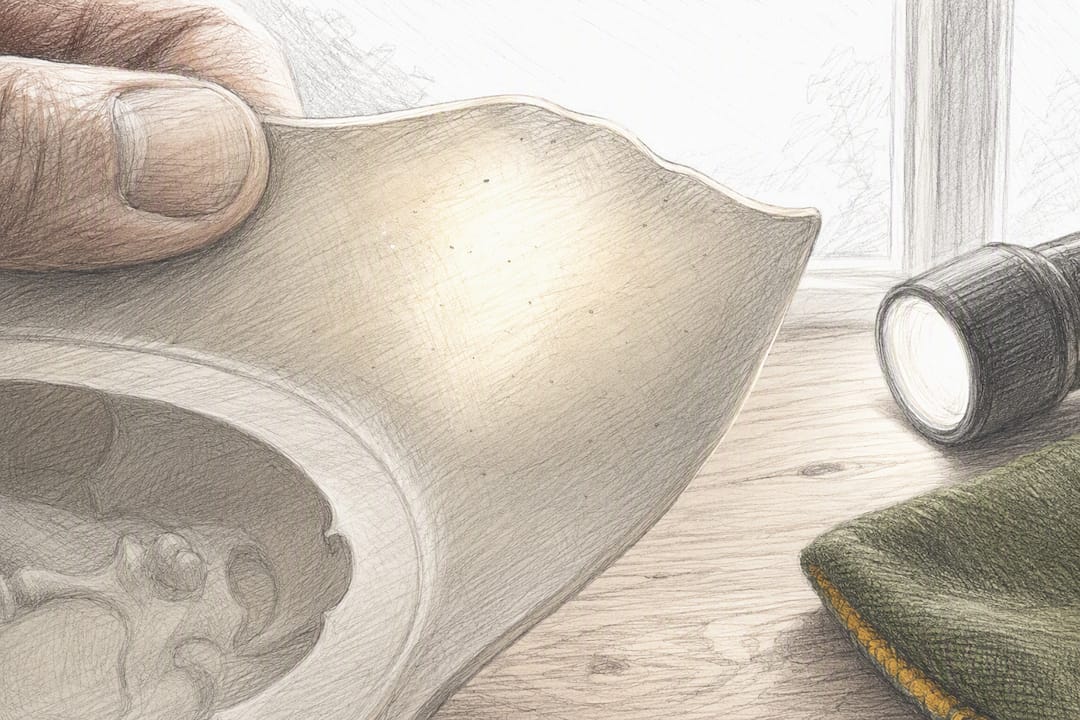
Pro Tip: Hold the mold up to a light source once a month. Thinning silicone shows as a lighter, almost translucent patch before it ever tears, and catching it early means you retire the mold on your schedule instead of mid-pour.
Shop Notes on Mold Care From Latvian Candles
Marks at Latvian Candles has spent years around beeswax and silicone, working with a family shop that’s been designing molds since 2015. A few things hold up consistently across hundreds of pours, and they’re worth passing on directly.
First: if a casting comes out with a small sinkhole or dimple, don’t scrap the mold and don’t over-clean trying to “fix” it. A small top-up pour of fresh warm wax into the dimple, done while the main pour is still slightly warm, resolves it without any extra wear on the mold.
Second: rinse sooner rather than later whenever a fragrance oil was involved. FO residue sets into silicone texture faster than plain beeswax does, and a mold left overnight before washing takes noticeably more scrubbing the next day.
Always check the manufacturer’s care label and, where one is provided, the safety data sheet (SDS) for any product used near your molds. Instructions vary by mold composition, and following them protects both the silicone and your castings.
— Marks
Molds Built for Easier Beeswax Cleanup
A mold that releases wax cleanly to begin with means less scrubbing afterward, and that’s the design principle behind every piece in the Latvian Candles collection. The silicone formulation and cavity detail can be optimized for beeswax’s thicker, stickier consistency to reduce oily film left behind compared to molds designed for softer wax blends.

For crafters just getting into beeswax casting, the DIY candle making starter kit bundles molds with the accessories that make cleanup simpler from the first pour, no separate shopping trip for wick holders or basic tools. If you want to see the detail retention in action, the Bees on Cells silicone mold is a good example of how fine honeycomb texture holds up pour after pour when it’s paired with proper post-cast care. Browse the current mold collection and pick the shape that fits your next batch.
Sources
- Rysilicone
- Can You Pour Beeswax Into Silicone Molds? | DIY Tutorial
- How To Clean Silicone Molds After Making Wax Melts – Seventh Avenue Apothecary
FAQ
Can You Wash Silicone Molds in the Dishwasher?
No. Dishwasher heat and water pressure can warp silicone over repeated cycles, so hand-washing with warm, not hot, soapy water is the safer routine.
What’s the Best Solvent for Sticky Fragrance Oil Residue?
Isopropyl alcohol at 70 to 90% concentration, applied with a damp cloth and rinsed afterward, cuts through fragrance oil film without damaging the silicone.
How Do You Get Beeswax Out of Silicone Mold Detail Lines Without Damaging Them?
Freeze the mold for several hours to aid wax removal to make the wax brittle, then flex it gently from the edges. This releases wax from fine detail lines like honeycomb texture without tearing the silicone.
Is It Safe to Pour Melted Wax Down the Sink?
No. Melted wax hardens inside pipes and causes clogs, so leftover wax should solidify in a heat-proof container and go out with regular trash instead.
How Often Should You Deep Clean a Beeswax Candle Mold?
Clean lightly after every pour and run a full deep clean, including an alcohol wipe, after any batch made with fragrance oils, since scented residue sets into silicone faster than plain beeswax.


