
Strengthen Casting Molds to Last 10 Pours for Latvian Workshops
Combining rigid backing with clamps and material-specific reinforcement is the most reliable way to make a mold strong enough for repeated casting. For porous molds like sand or gypsum, epoxy impregnation adds real durability. For flexible silicone molds, mechanical support beats chemical treatment. Gypsum needs bracing plus a release agent; composite shells need fiber reinforcement; timing and cure windows matter as much as the materials.
TL;DR:
- Rigid backing and external bracing are essential for strengthening gypsum and composite molds to withstand repeated casting stresses.
- Epoxy impregnation significantly increases porosity-based mold strength, with laboratory results showing up to a 20-fold increase in flexural strength for sand molds.
- Reinforcing porous or brittle molds requires thorough drying, proper resin viscosity, and staged curing, often with vacuum or immersion techniques, to ensure deep resin penetration.
- Silicone molds do not benefit from chemical reinforcement, and support should come from external frames or support rings to prevent stretching and deformation during casting.
- Reinforcement is generally unnecessary for molds used only once or twice, and pre-made durable silicone molds are recommended for repetitive casting in small batch production.
Table of Contents
- Why Mold Strengthening Matters and How to Pick the Right Method
- Materials, Tools, and Safety Checklist for Reinforcing Molds
- Step-by-Step: Prepare, Brace, and Secure Molds for Gypsum Casting
- Step-by-Step: Prepare and Strengthen Porous or Brittle Molds
- Research-Backed Polymer Impregnation: Lab Results Translated to Shop Practice
- Testing Reinforced Molds and Troubleshooting Common Failures
- Publisher Perspective: Applying These Methods to Thin Reusable Silicone Molds
- Alternative Option: Buy Durable Silicone Molds and Starter Kits
- Sources
- FAQ
Why Mold Strengthening Matters and How to Pick the Right Method
Molds fail in different ways depending on what they’re made from. Gypsum cracks under uneven clamping pressure. Sand and 3D-printed sand molds erode at the surface and crumble at thin walls. Composite shells delaminate when fibers clump instead of spreading evenly through the resin. Silicone molds don’t crack so much as stretch out of shape, especially around thin walls or deep cavities where they get pulled during demolding.
Matching the fix to the failure mode keeps the job simple:
- Deformation under clamping pressure (gypsum, thin composite): add rigid backing and cross-braces before the pour, not after.
- Surface abrasion or crumbling (sand, 3D-printed sand): polymer impregnation is usually the better fix.
- Delamination or weak spots (composite shells): fiber reinforcement with proper dispersion solves this.
- Stretching or tearing during demolding (silicone): mechanical support frames outperform any chemical treatment.
Reinforcement is unnecessary, and sometimes counterproductive, on a mold you’re only casting once or twice. Impregnating a mold you’ll retire after one use wastes resin and adds cure time for no payoff.
Materials, Tools, and Safety Checklist for Reinforcing Molds
Stocking the right supplies before you start saves a ruined pour halfway through. Here’s what belongs in a small workshop’s reinforcement kit:
- Impregnation resins: low-viscosity epoxy for sand and gypsum; silicone varnish only on compatible substrates.
- Fibers: chopped fiberglass or ceramic fiber for shell molds, added gradually to avoid clumping.
- Backing materials: thin plywood, aluminum sheet, or fiberglass mesh, sized to the mold’s largest flat face.
- Mechanical hardware: F-clamps, ratchet banding straps, and threaded support pillars for larger molds.
- Release agents: petroleum jelly or commercial silicone release spray, matched to the mold material.
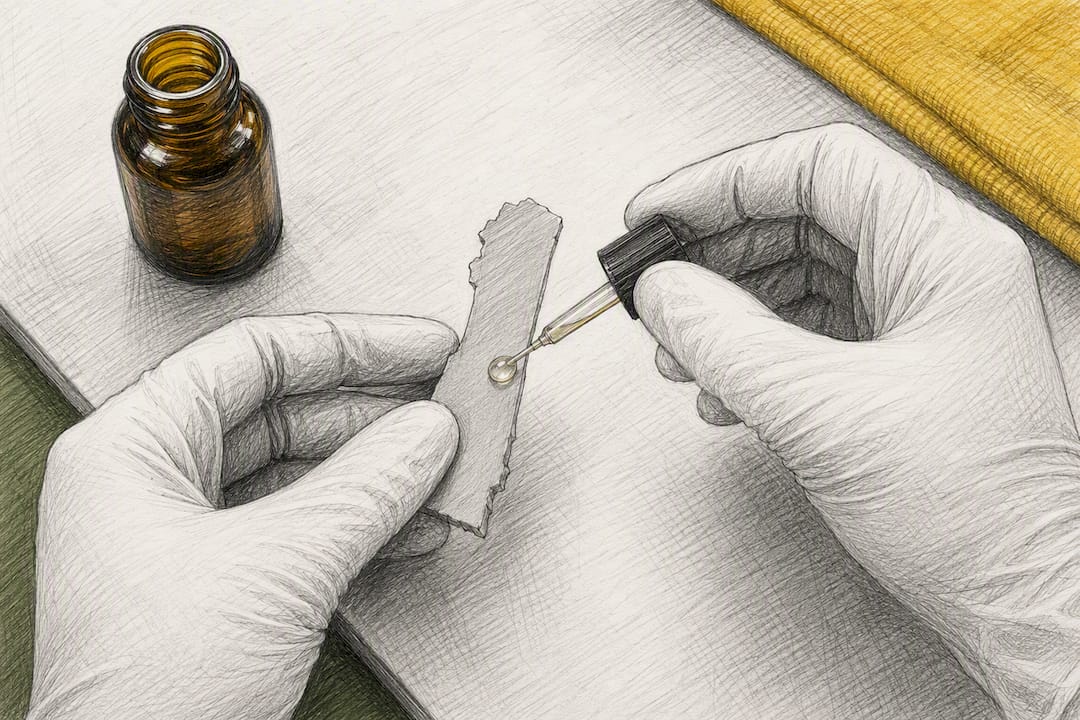
Compatibility mistakes ruin more molds than bad technique does. Epoxy does not bond to silicone. Silicone repels most epoxies and solvents outright, so trying to “strengthen” a silicone mold with resin usually just leaves a tacky, uncured film that ruins the surface finish, according to research on polymer impregnation of porous mold materials. Wet gypsum is just as unforgiving with fast-curing resins, since trapped moisture prevents proper cure.
Ventilation is non-negotiable when working with epoxy or solvent-based varnish. Wear nitrile gloves and a respirator rated for organic vapors, and cure resins in a space with active airflow, not a closed closet.
Pro Tip: Test any new impregnation resin or backing adhesive on a scrap piece of the same mold material first. A five-minute test avoids a ruined mold and wasted resin.
Step-by-Step: Prepare, Brace, and Secure Molds for Gypsum Casting
Gypsum molds need mechanical support more than chemical treatment, and the sequence matters:
- Clean and dry the mold surface completely before applying anything. Residual moisture weakens both the release agent and any adhesive backing.
- Apply a thin, even release agent appropriate to your casting material. Too much pools in detail lines and softens fine texture.
- Cut rigid backing (plywood or thin aluminum sheet) to match the mold’s flat faces, following the same principle industrial die-casting mold frame design uses: reserve space for supports before you assemble, not after.
- Attach backing with clamps or ratchet banding, working from the center outward to distribute pressure evenly.
- Add cross-braces or support pillars at any point where the mold face exceeds roughly 12 inches unsupported. Concrete formwork practice recommends the same fix, using stakes and cross-bracing to stop panel bowing during a pour.
- Let the release agent set per its label, typically 10 to 20 minutes, before pouring.
- Run a dry-run test: pour a small test batch first and check for flex or leakage at the seams before committing a full batch.
Step-by-Step: Prepare and Strengthen Porous or Brittle Molds
Sand, 3D-printed sand, and composite shell molds need a different sequence, one built around getting resin deep into the pore structure rather than just bracing the outside:
- Clean and fully dry the mold. Any residual moisture or dust blocks resin from penetrating the pores, defeating the entire point of impregnation.
- Set up vacuum or immersion impregnation. Submerge the mold in low-viscosity epoxy under vacuum, or immerse fully and wait until bubble release stops, the same benchmark used in full-scale sand mold impregnation trials.
- Watch immersion time scale with size. A small test piece might need only minutes; a full mold half can take tens of minutes to hours before bubbling stops.
- Add chopped fibers gradually, never all at once, to prevent clumping that creates weak points. Mechanical stirring works; extended staged mixing approximates the dispersion benefit of ultrasonic agitation if you don’t have that equipment.
- Cure per the resin’s spec sheet, either at ambient temperature or in a low-heat oven if the resin calls for it.
- Add mechanical backing after cure, not before, so the frame doesn’t trap uncured resin against the mold surface.
Research-Backed Polymer Impregnation: Lab Results Translated to Shop Practice
Laboratory testing on 3D-printed sand molds gives the clearest evidence yet for why epoxy impregnation works so well on porous materials. Flexural strength jumped from roughly 4 MPa in untreated samples to as high as 87 to 88 MPa after epoxy impregnation under optimized vacuum and immersion conditions, a gain of more than 20 times, according to research published on polymer impregnation of binder-jetted sand molds. Impact resistance improved roughly fivefold in the best-performing samples.
The largest strength gains came specifically from epoxy impregnation processed under controlled vacuum and immersion, not from casual surface coating. Pressure and immersion time were the variables that separated a modest improvement from a dramatic one.
For a small workshop without lab-grade vacuum chambers, the practical translation is straightforward: full immersion until bubbling stops is your substitute for precise vacuum control. It’s slower, but it gets resin into the same pore structure the lab tests targeted. A full-scale mold impregnated this way survived ten repeated casting cycles with no visible damage in a proof-of-concept trial, which is a reasonable durability target for a hobbyist mold in regular use.
The main limitation is that lab figures assume optimized resin viscosity and consistent temperature. Validate your own results with a simple deflection check rather than assuming the lab numbers transfer exactly.
Testing Reinforced Molds and Troubleshooting Common Failures
Before committing a full pour, run a low-load trial: apply gentle pressure across the mold face and watch for flex at seams or backing joints. A mold that deflects visibly under hand pressure will fail under a full casting load.
Common problems and fixes:
- Delamination between fiber layers: usually traces back to clumped fibers during mixing; re-impregnate the affected area rather than scrapping the whole mold.
- Persistent flex at one spot: add a local external brace or support pillar rather than rebuilding the entire backing structure.
- Resin that never fully cured: almost always a moisture problem; dry the mold thoroughly and reapply.
- Cracking at clamp points: distribute clamping pressure across a wider backing plate instead of concentrating force at a few points.
Pro Tip: Store reinforced molds flat, away from direct heat, and check backing hardware for looseness every few uses. Loose clamps are the most common cause of gradual mold failure, not material fatigue.
Publisher Perspective: Applying These Methods to Thin Reusable Silicone Molds
Most reinforcement advice online assumes rigid materials, and that’s where it falls apart for silicone. Silicone doesn’t need impregnation. It needs support that flexes with it instead of fighting it.
For thin silicone candle molds, a backing ring or light external mesh frame around the pour opening does more good than any coating; for detailed guidance on using proper molds, visit Luxury Candle - Gyertya Áruház.hu. Chemical treatment on silicone risks degrading the release surface, which defeats the purpose of a reusable mold in the first place.
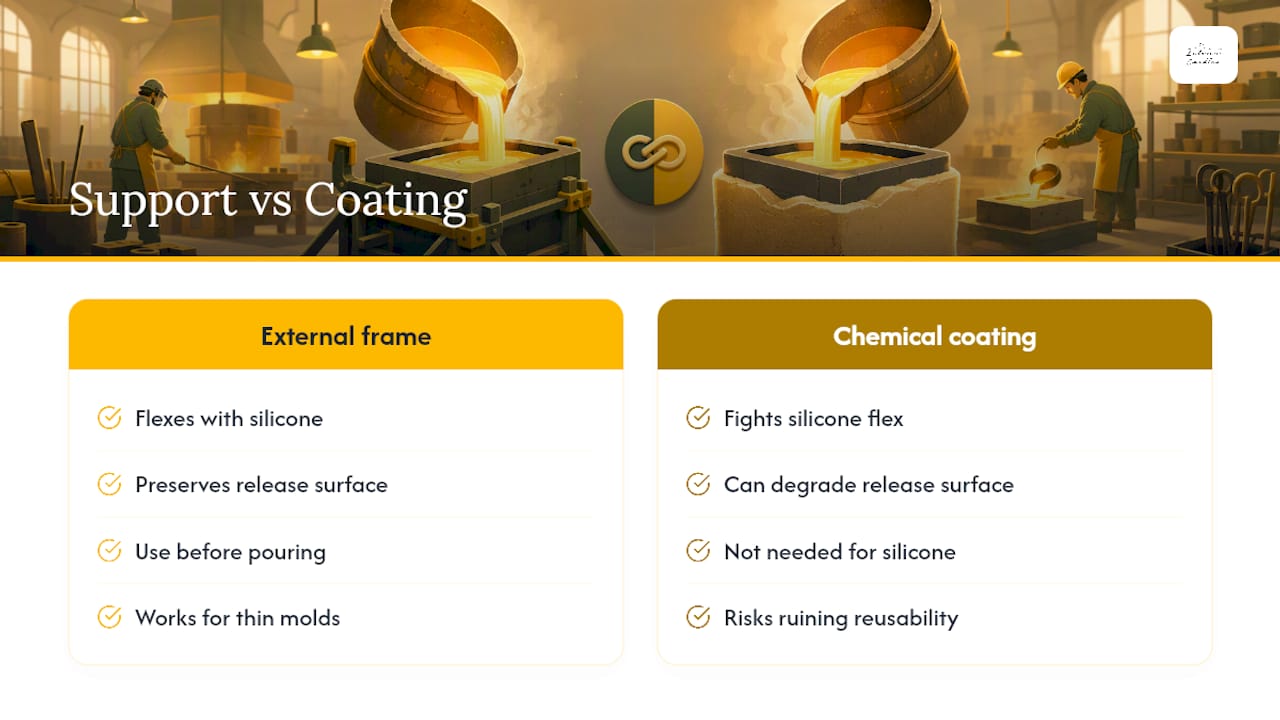
Latviancandles designs its silicone molds with wall thickness calibrated specifically for beeswax’s pour temperature and shrinkage behavior, so most designs don’t need reinforcement at all under normal hobbyist use. When a mold does need extra support, a simple external frame during the pour and a flat, unstressed storage position between uses does the job.
A workflow that holds up over dozens of pours: set the mold in its support frame before pouring, pour at the recommended beeswax temperature, let it cool undisturbed, then store flat rather than folded or stacked.
— Marks
Alternative Option: Buy Durable Silicone Molds and Starter Kits
Reinforcing your own molds makes sense for one-off gypsum or composite projects. It stops making sense once you’re running small repeated batches of the same intricate shape, where the time spent bracing and re-testing a DIY mold outweighs just buying one built to last.

Latviancandles builds its silicone candle molds specifically for repeated beeswax pours, with wall geometry that holds detail through dozens of cycles without the backing rigs this article just walked through. The bees on cells mold is a strong example: intricate cell detail that would be nearly impossible to reinforce by hand in a DIY silicone mold, already solved in the product. If you’re just starting out, the DIY candle making starter kit bundles molds with the wick holders and supplies you’d otherwise source separately.
These molds still pair with the backing techniques covered above. A light support frame around a Latviancandles mold during a pour adds extra insurance for larger pillar shapes without any of the impregnation work sand or gypsum molds require. Browse the full collection of silicone mold designs to find a shape that fits your next batch.
Sources
- The Influence of Polymer Impregnating Materials on Structural Strengthening of 3D Printed Sand Molds Produced by Binder Jetting Method
- How to Design the Die Casting Mold Frame - Sunrise
- Structural strengthening of 3D printed sand molds (proof-of-concept full-scale mold)
FAQ
What Is the Best Way to Strengthen a Gypsum Mold?
Rigid plywood or aluminum backing combined with clamps or ratchet banding is the most reliable fix, applied after the release agent sets but before pouring.
Can I Use Epoxy on a Silicone Mold?
No. Silicone repels most epoxies and solvents, so chemical impregnation doesn’t bond and can leave a tacky residue; use mechanical backing instead.
How Long Should I Impregnate a Sand or Composite Mold?
Immerse until bubble release stops rather than following a fixed timer; small pieces may need only minutes, while full mold halves can take tens of minutes to hours.
Do I Need to Reinforce a Mold I’m Only Using Once?
Usually not. Reinforcement adds time and material cost that only pays off across multiple reuse cycles.
Are Latviancandles Silicone Molds Pre-Reinforced?
They’re designed with wall thickness calibrated for beeswax pours, so most shapes don’t need extra reinforcement, though a light external frame adds insurance for larger pillar designs.


