
Silicone Molds That Last Hundreds of Pours for Beeswax Hobbyists
For hobbyists and small-batch makers crafting beeswax candles, purpose-built silicone molds are the best first purchase. Flexible silicone releases beeswax cleanly, holds fine detail through repeated pours, and resists the cracking that stiffer molds cause. Latvian Candles is one specialist source built specifically around this material pairing, but the underlying pick, when weighing bišu vaska izvēle for your own bench, comes down to silicone every time.
TL;DR:
- Silicone molds are preferred for beeswax candles because they flex to prevent tearing, preserve fine detail, and handle beeswax’s shrinkage without cracking.
- Ends of the mold’s cavity depth and wall thickness should match the candle shape, with extra sizing for deep or textured designs to account for wax shrinkage.
- Pouring temperatures should stay between 150 and 175°F (65 to 80°C), and pre-warming molds prevents surface cracks caused by thermal shock.
- Proper cooling, slow and draft-free, reduces the risk of cracks, while storage and cleaning with mild methods extend mold lifespan significantly.
- Beginners benefit from starter kits bundled with molds, wicks, and instructions to establish a consistent process and avoid common mistakes like skipping test pours or under-supporting tall tapers.
Table of Contents
- Why Silicone Works Best for Beeswax
- Choosing Molds by Candle Type: Tapers, Pillars, Tea Lights, and Novelty Shapes
- Practical Buying Checklist: What to Check in a Silicone Mold Listing
- Pouring, Temperature, and Cooling Tips for Beeswax in Silicone Molds
- Care, Cleaning, and Storage to Extend Silicone Mold Life
- A Maker’s Take on Common Mold Mistakes
- How Latvian Candles Helps You Get Started
- Sources
- FAQ
Why Silicone Works Best for Beeswax
Beeswax shrinks slightly as it cools and grips detail more stubbornly than soy or paraffin. A rigid mold fights that grip. Silicone flexes around it, letting you peel the mold away from the finished candle instead of forcing the wax out, which is exactly why silicone molds are preferred over tin or plastic for beeswax work.
That flexibility protects raised patterns, sharp edges, and honeycomb textures that a metal mold would tear or blur on release.
Durability matters just as much as flexibility. Quality silicone holds its shape across hundreds of thermal cycles, so a mold you pour on Monday still produces the same dimensions in month six. That consistency is what actually lowers your cost per candle over a season of small batches.
Silicone’s practical advantages for beeswax:
- Flexes for clean release without prying or forcing
- Preserves fine detail like honeycomb texture and raised patterns
- Requires no release agents, which cuts cleaning time significantly
- Maintains dimensional accuracy pour after pour
- Handles beeswax’s natural shrinkage without cracking
Pro Tip: Metal molds still earn their place for tall, plain tapers where you want a glassy finish and don’t mind using a release spray. For anything with texture or a complex profile, silicone wins.
Metal cools beeswax faster and can produce a slightly glossier surface on simple shapes, but that speed comes at a cost: metal doesn’t forgive beeswax’s shrinkage the way silicone does, and demolding a detailed metal piece often means chipping or cracking the candle. If your project has any texture at all, that trade-off isn’t worth it.
Choosing Molds by Candle Type: Tapers, Pillars, Tea Lights, and Novelty Shapes
Different candle shapes stress a mold in different ways, and matching the mold to the shape is where most beginners either save themselves headaches or invite them.
- Tapers need tall, narrow cavities with enough wall thickness to stay straight during a pour. Look for a mold with a built-in wick channel or centering point, since a taper that leans even slightly ruins the whole piece.
- Pillars demand a stable base and a deeper cavity, which means longer cooling time. Choose a pillar mold with reinforced walls near the base, where the weight of cooling wax puts the most stress.
- Tea lights and votives are shallow and forgiving, but batch size matters more here than anywhere else. A multi-cavity tray with consistent base thickness across every cell keeps burn times uniform across a whole batch.
- Novelty and intricate shapes, like honeycomb or bee-cell designs, need softer, more pliable silicone. Very thin walls on a detailed mold can tear during release, so check reviews or product photos for wall thickness before buying.
For any deep cavity shape, size up slightly. Beeswax shrinks more than paraffin as it cools, and a cavity that’s just a hair oversized compensates for that shrinkage instead of leaving you with a candle that binds against the mold walls.
Practical Buying Checklist: What to Check in a Silicone Mold Listing
A mold listing can look great in photos and still fail you at the pour. Run through this before you buy:
- Temperature tolerance: Look for “food-grade” or “high-temp” silicone rated well above your pour temperature, not just at it.
- Wall thickness and cavity depth: Thicker walls hold their shape longer and resist tearing on detailed designs.
- Cavity count versus batch size: A 6-cavity tea light tray wastes your time if you’re making 40 candles a session; match the mold to how you actually work.
- Cleaning and care guidance: Listings that specify care instructions usually indicate a mold built for repeated reuse, not a one-season product.
- Price against expected pour count: A mold that costs twice as much but lasts five times longer is the cheaper option in the long run.
Pro Tip: Before committing to a large multi-cavity mold, pour a single test cavity if the product allows it, or start with a smaller version of the same design. One test pour tells you more about release, detail, and cooling behavior than any product description will.
Pouring, Temperature, and Cooling Tips for Beeswax in Silicone Molds
Pour temperature affects everything from surface finish to whether your candle sinks in the middle. Most guidance points to a range of 150 to 175°F (65 to 80°C) for beeswax, and staying inside that window is what separates a smooth top from a cracked or sunken one.
- Pre-warm the mold slightly with warm water or a low hair dryer setting if your workspace is cold. Pouring hot wax into a cold mold causes thermal shock, which shows up later as surface cracks or sinkholes.
- Center the wick using a wick bar or centering device, especially for tapers and pillars, where an off-center wick causes uneven burning down the road.
- Cool slowly and evenly. An insulated box or a draft-free spot prevents the outside of the candle from hardening faster than the inside, which is the main cause of sink marks.
- Test pour first. Fill one cavity, let it cure fully, and check for sink, drag marks, or incomplete detail before running a full batch.
Rushing the cooling step is the single most common reason hobbyists get cracked pillars, and it’s the easiest one to fix with nothing more than patience.
Care, Cleaning, and Storage to Extend Silicone Mold Life
A well-cared-for silicone mold can outlast several seasons of small-batch pouring, but only if you skip the shortcuts.
- Let the wax cool completely before peeling; rushing this step stresses the silicone and can distort detailed cavities.
- Wash with a mild detergent and warm water, then dry fully before storing. Store molds flat or lightly supported, never folded or stacked under weight.
- Use separators between detailed molds so raised patterns don’t press into each other during storage.
- Inspect before every reuse for tackiness, lingering odor, or compression marks, which signal it’s time to retire the mold.
- Avoid harsh solvents and high heat during cleaning; both break down silicone faster than normal wear does.
Our own guide to using our molds walks through this same routine in more detail if you want a printable reference for your workspace.
A Maker’s Take on Common Mold Mistakes
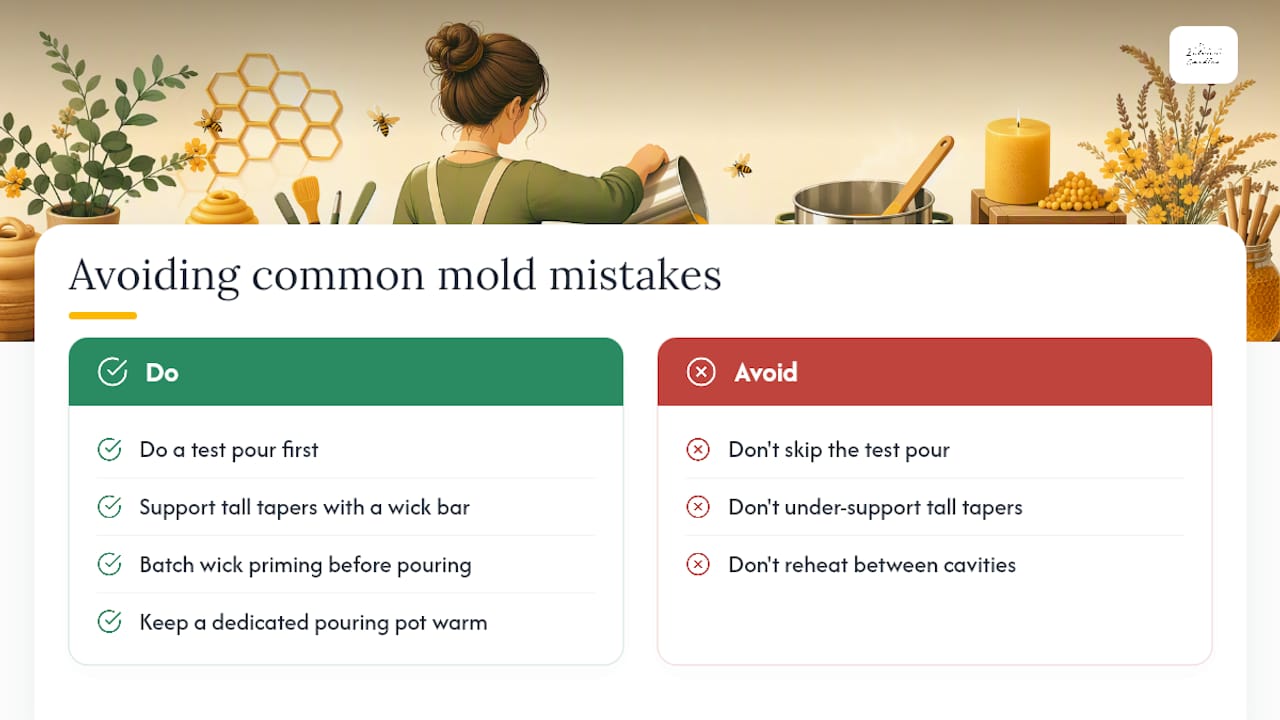
Most of the frustration hobbyists run into with beeswax comes down to skipping the test pour. It feels like an extra step when you’re excited to fill a whole tray, but one cavity tells you whether your temperature and cooling approach actually works with that specific mold. The second most common mistake is under-supporting tall tapers. A wick bar costs almost nothing and saves an entire batch from leaning.
Two shortcuts that speed up small-batch runs: batch your wick priming before you start pouring, and keep a dedicated pouring pot at your working temperature so you’re not reheating between cavities. If you’re building out a full setup, our bee cell molds, tea light trays, and starter kits are designed around exactly this workflow.
— Marks
How Latvian Candles Helps You Get Started
One specialist source for silicone molds built specifically for beeswax features thick, reusable walls and cavity detail that holds up pour after pour.

Every mold in the collection is designed around beeswax’s shrink and release behavior rather than adapted from a general-purpose design, which is the gap that trips up a lot of first-time buyers browsing generic craft stores. If you’re just starting out, the DIY candle making starter kit bundles mold, wick, and setup essentials into one order. If you already know your next project, the bee cell tea light mold and bee cell pillar mold both put the honeycomb texture front and center. Browse the full mold collection and pick the shape that matches your next batch.
Sources
For more on pour behavior, see our pour temperature guide and this comparison of silicone versus metal candle molds.
- Why Are Silicone Molds Preferred Over Tin Or Plastic Molds For Beeswax Candles? Boost Efficiency & Quality - HonestBee
- Can You Use Silicon Molds When Making Beeswax Candles | My Candle Making
- How to Clean and Store Candle Molds to Prevent Damage and Distortion - DIY Products 101
FAQ
What temperature should I pour beeswax into silicone molds?
Most guidance recommends 150 to 175°F (65 to 80°C), which balances smooth flow against sink and drag risk.
Can I use the same silicone mold for beeswax and soy wax?
Yes. Silicone works well with both firmer waxes because the cooled candle releases cleanly once you flex the mold, regardless of whether it’s beeswax or soy.
How long do silicone candle molds last?
A quality silicone mold can handle hundreds of pours while holding its dimensions consistently, provided you clean and store it properly between uses.
Why did my beeswax candle crack after unmolding?
Cracking usually comes from cooling too fast or pouring into a cold mold, both of which cause thermal shock; pre-warming the mold and cooling slowly in a draft-free spot solves most cases.
Should beginners start with a starter kit or single molds?
A starter kit is usually the better first purchase since it bundles a mold, wick, and setup guidance, letting you learn the process before investing in specialty shapes like bee cells or tapers.


