
Hundreds of Pours: Silicone Mold Advantages for Beeswax Makers
Yes, silicone molds are an excellent choice for beeswax candle making. They combine easy demolding, fine detail capture, and long-term reusability that rigid molds simply cannot match. The main caveat is heat: beeswax should be poured within a safe working range, never scorching hot, to protect both the wax and the mold. With that one habit in place, silicone delivers the durability and detail retention that hobbyists and small-batch artisans, including makers who work with Latvian Candles’ molds, rely on for consistent results pour after pour.
TL;DR:
- Silicone molds sustain hundreds of pour cycles, with proper cleaning and storage, reducing long-term costs compared to rigid metal or plastic molds.
- Maintaining beeswax temperature between 145 and 165°F prevents scorching, preserves mold integrity, and ensures clean releases, especially for detailed designs.
- Choosing platinum-cure, food-grade silicone improves mold durability, detail retention, and resistance to wear over multiple uses.
- Proper support and avoiding drafts during cooling prevent shape distortion and surface issues like frosting or sink marks.
- Widening cavities slightly larger than the intended final size compensates for beeswax shrinkage and guarantees better fit in finished candles.
Table of Contents
- What Are the Core Advantages of Silicone Molds for Beeswax?
- What Temperature Should You Use for Beeswax in Silicone Molds?
- How Do You Pick the Right Silicone Mold for Your Project?
- How Do You Clean and Store Silicone Molds to Make Them Last?
- What Gives Latvian Candles Credibility on Silicone Mold Selection?
- How Does Mold Choice Affect Wicking and Burn Quality?
- What Problems Come Up With Silicone Molds and Beeswax?
- How Do Silicone Molds Compare to Metal and Plastic for Beeswax?
- Where Conventional Candle-Making Advice Gets This Wrong
- Get Started With Latvian Candles’ Silicone Molds and Kits
- Sources
- FAQ
What Are the Core Advantages of Silicone Molds for Beeswax?
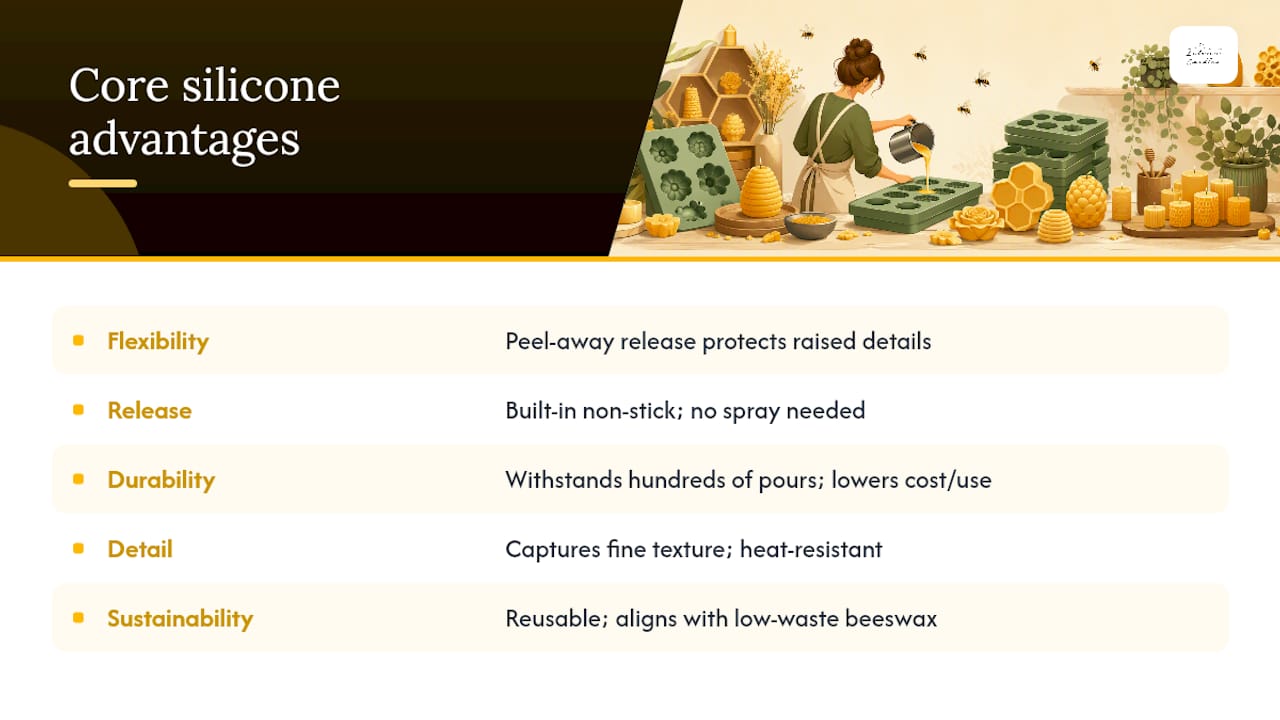
The silicone mold advantages that matter most for beeswax candle making come down to five things: flexibility, release, durability, detail, and sustainability. Each one solves a specific problem that beeswax, a naturally sticky and slow-cooling wax, tends to create.
Flexibility is the biggest workflow difference. Instead of prying a hardened taper out of a rigid tin, you peel the silicone away from the candle in sections. That matters enormously for anything with a raised pattern, since bending the mold protects delicate edges, points, and ornaments that would otherwise snap off during a stiff pull.
Non-stick release comes built into the material. Most beeswax pours come out clean with no spray or oil at all, which speeds up the whole process when you’re running several molds in a session.
Durability is where silicone earns back its higher price tag. Quality molds withstand numerous pour cycles, which lowers the cost per candle dramatically compared to cheap rigid molds that crack, warp, or lose their finish after a few uses.
By the numbers: Silicone molds preserve intricate detail through repeated use far better than tin or plastic, and their ability to endure hundreds of pour cycles means the cost-per-use keeps dropping the longer you own the mold.
Detail preservation is what makes honeycomb textures, bee motifs, and raised lettering possible at all. Silicone’s heat resistance and non-stick surface let it capture fine texture that a metal mold would either distort or fail to release cleanly.
Sustainability rounds out the case. A reusable mold pairs naturally with beeswax’s own low-waste, biodegradable profile, so nothing in the process depends on single-use materials.
The practical upshot for small-batch sellers: consistent dimensional accuracy across dozens of pours means candles that fit the same holder and burn to a predictable time, every batch.
What Temperature Should You Use for Beeswax in Silicone Molds?
Beeswax behaves differently than paraffin or soy, so the working temperature window matters more than most beginners expect.
- Melt beeswax gently, generally in the 145 to 165°F range, and add color or fragrance in that same window.
- Keep the wax below 185°F at all times. Beeswax scorches easily, and excess heat also shortens the life of your silicone mold.
- Expect some shrinkage as beeswax cools. If your finished candle needs to fit a specific holder, choose a cavity slightly larger than the target size to account for that contraction.
- Watch for early signs of mold fatigue: a tacky surface, a dull sheen, or edges that no longer spring back cleanly. Those are cues to slow down your pour temperature, not push through it.
For most cavities, the non-stick surface handles release on its own. Highly intricate designs, like layered honeycomb or fine bee wings, are the exception.
Pro Tip: For cavities with lots of fine texture, a light mist of silicone-safe release spray before pouring helps every detail transfer cleanly on the first try, even though most simpler shapes never need it at all.
Treat your mold gently near the high end of the range, and it will reward you with hundreds of clean releases before it ever shows real wear.
How Do You Pick the Right Silicone Mold for Your Project?
Choosing a mold isn’t just about the shape you like. It’s about matching silicone grade, cavity size, and structure to the candle you actually plan to make.
- Check the silicone grade first. Food-grade or platinum-cure silicone holds up better under repeated thermal cycling than cheaper blends, and it resists the tearing and discoloration that shorten a mold’s working life.
- Match cavity size to candle type. A standard cylinder or hexagon cavity around 2¼ inches by 6 inches holds roughly 9.8 to 11.8 ounces of wax, which helps you plan how much beeswax to melt before you even start. Tea lights and votives need far less; tapers and pillars need more.
- Pick your wick size based on diameter. Wick sizes in the #3 to #7 range cover most beeswax pillar and votive diameters, though your exact wick depends on the specific mold’s width.
- Decide between single and multi-cavity. A single-cavity mold suits decorative one-off gifts, while multi-cavity molds speed up small-batch runs, provided you stay consistent with wick placement and cooling to avoid frosting or sink marks.
- Inspect wall thickness and support. Thin-walled molds warp more easily under repeated heat; look for molds designed with enough structure to hold their shape through many pours.
Beginners tend to do best starting with a mid-detail design. It’s forgiving enough to build technique on, while still looking handmade rather than plain.
How Do You Clean and Store Silicone Molds to Make Them Last?
Mold longevity comes down to a handful of simple habits, not special equipment.
- Clean with warm water and mild soap. Harsh solvents degrade silicone over time, so skip anything abrasive. An occasional citric-based cleaner works well on stubborn wax residue.
- Dry completely before storing. Trapped moisture invites mildew inside detailed cavities.
- Store flat, away from dust and direct sunlight, ideally in a cool spot rather than a hot attic or garage shelf.
- Use stands or supports during every pour. Propping a flexible mold upright without support risks warping the shape before the wax sets, and centering your wick with a holder keeps the finished candle burning straight.
- Retire a mold once it tears, holds onto residue no amount of cleaning removes, or loses its original shape. Pushing a worn mold past that point usually shows up as uneven candles later.
Pro Tip: Keep a small log of how many pours each mold has handled. It sounds unnecessary until the day a mold that’s given you 200 clean releases finally starts showing its age, and you already know it’s time to retire it gracefully instead of guessing.
What Gives Latvian Candles Credibility on Silicone Mold Selection?
This guidance comes from Marks at Latvian Candles, a family candlemaking operation working with silicone molds since 2015. That kind of repeated, hands-on pouring, across 180-plus artisan silicone designs, is where most of the practical detail in this guide comes from: which cavity shapes hold detail best, which wall thicknesses warp, and which wick sizes actually match which diameters.
If you’re new to a specific mold shape, the how to use our molds guide walks through pouring technique step by step, and it’s worth reading before your first pour rather than after a frustrating one.
The larger point holds regardless of where you buy: a mold built from quality silicone and used within its temperature range will outlast cheaper alternatives by a wide margin, which is exactly why durability keeps coming up as the top reason experienced makers switch to silicone and stay there.
How Does Mold Choice Affect Wicking and Burn Quality?
Your mold shape decides your wick before you ever light a match. Diameter is the main driver: wider cavities need thicker wicks to pull enough melted wax to the flame, while narrow tapers and votives need something finer or the candle will drown itself in a pool of unburned beeswax.
Wick sizes in the #3 to #7 range cover most common beeswax pillar and votive diameters, but the exact number depends on your specific cavity width, not a fixed rule per candle type. A mold with a wider mouth and deeper cavity, like a standard pillar form, needs a wick sized for that larger melt pool. A narrow taper mold needs the opposite.
Multi-cavity molds add a second variable: wick drift during pouring. If the wick shifts off-center while the wax is still liquid, the candle burns unevenly and can tunnel down one side. Using wick holders and adjustable stands during the pour keeps every wick centered across a batch, which matters far more once you’re filling six or eight cavities at once instead of one.

One more detail worth planning around: beeswax burns hotter and slightly faster than paraffin in many wick and diameter combinations, so a wick that performs perfectly in a soy pillar can run too hot in the same mold filled with beeswax. Testing a new mold and wick pairing with a single trial candle before committing to a full batch saves you from discovering a mismatch after twelve candles are already poured.
What Problems Come Up With Silicone Molds and Beeswax?
Most issues trace back to temperature, cooling speed, or mold care rather than the silicone itself.
Sink marks and frosting show up most often in multi-cavity batches when cooling speed varies across cavities. Keeping your pouring room at a consistent temperature and avoiding drafts near the mold reduces this significantly.
Sticky or tacky release usually means the wax was poured too hot. Staying within the recommended range and letting candles cool fully before attempting to demold solves this in nearly every case.
Distorted shapes after unmolding point to a mold that wasn’t supported properly during the pour. Silicone’s flexibility is an asset for release, but that same flexibility means an unsupported mold can bow or lean while the wax is still liquid. A rigid stand or tray underneath fixes this.
Fine details not transferring cleanly typically happen with highly intricate cavities, like fine honeycomb texture. A light mist of silicone-safe release spray before pouring, an occasional practice rather than a default habit, usually resolves it.
Persistent residue or a dull, cloudy surface after repeated cleanings signals the mold is nearing the end of its usable life, especially if it’s an older, lower-grade silicone. Platinum-cure silicone resists this far longer than budget alternatives, which is one more reason grade matters at purchase time, not just price.
How Do Silicone Molds Compare to Metal and Plastic for Beeswax?
Metal tins were the standard for decades, and plastic molds are still common in starter kits, but neither handles beeswax as well as silicone once you compare them side by side.
| Feature | Silicone | Metal (tin) | Rigid plastic |
|---|---|---|---|
| Demolding | Flex and peel, low breakage risk | Often requires freezing or tapping, higher breakage risk | Rigid pull, prone to cracking candles |
| Detail capture | Excellent for fine texture | Limited, especially on complex shapes | Moderate, depends on mold quality |
| Heat tolerance | High, within safe wax temps | Very high but transfers heat fast, risking uneven cooling | Lower; cheap plastics can warp |
| Lifespan | Hundreds of pours with proper care | Long-lasting but shows dents and wear | Shorter; prone to cracking or clouding over time |
| Cost per use | Higher upfront, lower over time | Moderate upfront, holds value | Low upfront, replaced more often |
The efficiency and quality advantages of silicone over tin or plastic come down mainly to that combination of easy release and detail retention. Metal still has its place for simple, large-batch commercial pours where speed matters more than intricate design. But for hobbyists and small-batch artisans working with detailed shapes, silicone wins on nearly every practical measure that affects the finished candle.
Where Conventional Candle-Making Advice Gets This Wrong
Most beginner guides treat mold material as a minor detail, something you pick based on price and move past quickly. That’s backward. The mold shapes every other decision in the process: your wick size, your pour temperature tolerance, your batch consistency, and ultimately how much wax you waste on failed releases.
The conventional advice to “start cheap and upgrade later” also deserves pushback. A low-grade plastic or thin rigid mold teaches you to fight your equipment instead of your technique, and that’s a frustrating way to learn. Starting with a mid-quality silicone mold, even a simple shape, builds better habits faster because the mold itself isn’t working against you.
What should come first isn’t the prettiest design. It’s silicone grade and cavity size matched to a candle you’ll actually finish. Detail-heavy molds are rewarding once you’ve got a few batches under your belt, but they’re not where confidence gets built.
— Marks
Get Started With Latvian Candles’ Silicone Molds and Kits
If you’re weighing rigid molds against silicone for your next beeswax batch, the case for silicone comes down to fewer wasted candles and molds that keep performing after months of regular use. Latvian Candles has built its catalog specifically around that outcome, with molds designed for beeswax’s cooling behavior and detail requirements rather than adapted from general baking or resin use.

New to candle making entirely? The DIY candle making starter kit bundles what you need to make your first batches without piecing together separate purchases. If you want a decorative piece with real texture, the bees on cells silicone mold captures honeycomb detail that’s genuinely difficult to find in rigid molds, and the bee cells tea lights mold works well for gift sets or small-batch runs where consistency across multiple candles matters. Each product page lists exact cavity dimensions and wax volume, so check the specifications against your project before you order.
Sources
- Why Are Silicone Molds Preferred Over Tin Or Plastic Molds For Beeswax Candles? Boost Efficiency & Quality - HonestBee
- Beekeepingmadeeasy
- Choosing the Perfect Beeswax Candle Mold for Your Needs - Beekeeper Corner
- Can You Use Silicon Molds When Making Beeswax Candles | My Candle Making
FAQ
Can You Use Any Silicone Mold for Beeswax Candles?
Most food-grade silicone molds work well with beeswax, but platinum-cure silicone holds detail and resists wear better over hundreds of pours than lower-grade alternatives.
Do You Need a Release Agent for Silicone Molds?
Usually not. Silicone’s non-stick surface handles most beeswax pours on its own; a light silicone-safe release spray only helps with highly intricate, detailed cavities.
What Temperature Should Beeswax Be When Poured Into Silicone?
Keep beeswax in the 145 to 165°F range for pouring, and never exceed 185°F, since higher heat scorches the wax and shortens mold life.
How Long Do Silicone Beeswax Molds Last?
Quality silicone molds, especially platinum-cure varieties, typically withstand hundreds of pour cycles when cleaned properly and stored away from heat and sunlight.
Is Silicone Better Than Metal for Beeswax Candles?
For detailed shapes and easy release, yes. Silicone captures finer texture and demolds more gently than metal, though metal tins still suit simple, large-batch commercial pours.


