
Turn 6–7 ounces of Jar Scraps into New Candles for Hobby Crafters
Yes: most leftover candle and beeswax remnants are reusable once cleaned and melted correctly. Collect scraps, pull out wicks and metal tabs, choose a safe melting method like a double boiler or short microwave bursts, then strain and recast into new candles, wraps, or fire starters. That sequence, done in order, is the whole process.
TL;DR:
- Reclaiming wax waste involves careful collection, thorough cleaning by removing wicks and tabs, and controlled melting at temperatures between 160°F and 180°F.
- Using a double boiler or microwave in short bursts minimizes risks of scorching, discoloration, and potential fire hazards when melting reclaimed beeswax.
- Reused wax can be molded into candles, wax melts, beeswax wraps, fire starters, or polish, with specific techniques for each application.
- Proper cleanup of wax from glass containers or fabric requires freezing or gentle heat transfer to avoid damage or mess, along with appropriate disposal of solids.
- Mixing different wax types is possible but can affect burning performance; small amounts of beeswax improve detail and shape stability in reclaimed wax projects.
Table of Contents
- How Does Vaska Atlikumu Izmantošana Work in Practice?
- What’s the Safest Way to Melt Reclaimed Wax?
- What Can You Make With Reclaimed Wax?
- How Do You Get Wax Out of Glass and Fabric?
- Can You Mix Different Types of Wax Together?
- Why Does Reusing Wax Actually Matter?
- An Author’s Note on Working With Reclaimed Wax
- A Simple Next Step for Recasting Reclaimed Wax
- Sources
- FAQ
How Does Vaska Atlikumu Izmantošana Work in Practice?
Reusing wax waste, or “vaska atlikumu izmantošana,” comes down to three stages: collection, cleaning, and re-melting. Skip a stage and you end up with cloudy wax, clogged wicks, or a candle that tunnels down the middle instead of burning evenly.
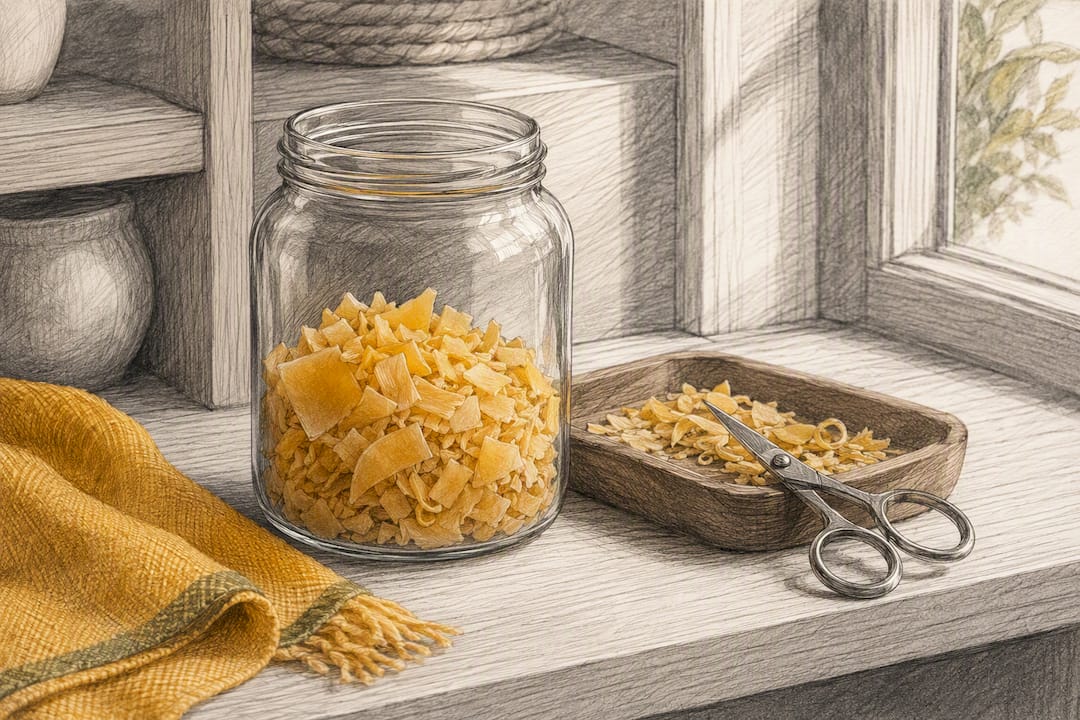
Start by pulling wax scraps out of old jars and off drip trays. Three methods work well, and which one you pick depends on how stubborn the residue is.
- Freeze and pop: Put the jar in the freezer for an hour or two. Wax contracts faster than glass, so it usually pops loose in one piece.
- Hot water pour: Fill the jar with near boiling water, let the wax float free, then lift it off once it hardens on the surface.
- Oven method: Warm the jar upside down on a lined tray at low heat (around 200°F) until the wax softens and drips out.
Before melting anything, pull every wick, metal tab, and paper label out of the pile. These don’t melt cleanly and will contaminate your reclaimed wax. Never dump wax solids or wash water down the drain since wax hardens in pipes and clogs them over time. Sort scraps by type when you can tell them apart. Beeswax is denser, stickier, and smells faintly of honey, while paraffin and soy tend to be lighter and odorless. Label your containers as you go so you’re not guessing later.
Pro Tip: Keep a dedicated jar by your workspace for scraps as you trim wicks and clean up drips. A little at a time adds up fast, and you’ll have a full batch ready before you know it.
What’s the Safest Way to Melt Reclaimed Wax?
Heat control matters more than speed here. Wax that gets too hot can scorch, discolor, or in rare cases ignite, so a thermometer is worth the few dollars it costs.
- Double boiler or water bath first. This is the safest home method for melting reclaimed wax. Place wax in a heatproof container set inside a pot of simmering water, and keep the wax between 160°F and 180°F for beeswax. Never melt wax directly over an open flame.
- Microwave in short bursts if you’re in a hurry. Use a microwave-safe container, heat in 20 to 30 second intervals, and stir between each round so heat distributes evenly instead of scorching one spot.
- Solar box cookers for off-grid melting. Small-scale trials have shown that solar box cookers can recover and recast mixed candle wax fragments under strong, steady sunlight. It’s slower than a stovetop and depends entirely on weather, but it works for hobbyists with patience and a sunny yard.
- Strain before you pour. Let molten wax sit for a minute so heavier soot particles settle toward the bottom, then pour it through cheesecloth or a fine mesh strainer into your next container. This single step is what separates cloudy, gritty reclaimed wax from clean, reusable wax.
Pro Tip: Keep a spare thermometer clipped to the side of your melting pot. Guessing temperature by eye is how most home melting mishaps happen.
What Can You Make With Reclaimed Wax?
Once your wax is clean and melted, you have more options than just pouring another candle. Here’s where reused wax actually earns its keep.
- Jar candles and mold-cast candles. A standard 8 ounce jar takes roughly 6 to 7 ounces of wax. For shaped candles, reusable silicone molds make casting reclaimed beeswax far simpler than trying to reuse old glass containers, since you can pop the finished piece out cleanly once it sets. Match your wick size to the diameter of the mold or jar, not the total wax volume.
- Wax melts. Pour reclaimed wax into small silicone trays, add a few drops of essential oil once the wax cools slightly (adding scent to wax that’s too hot can burn off the fragrance), and store finished melts in an airtight tin away from sunlight.
- Beeswax wraps. Iron a thin, even layer of melted beeswax onto cotton fabric between two sheets of parchment paper, or brush it on and finish with a warm iron to even it out. Let the fabric cool flat for a few minutes before handling.
- Fire starters. Pour reclaimed wax over dryer lint, sawdust, or shredded cardboard packed into a muffin tin or egg carton cup. Once set, cut apart and store in a dry container.
- Furniture and leather polish. Blend reclaimed beeswax with a small amount of mineral oil or olive oil, warmed gently together, then apply with a soft cloth for a simple homemade polish.
Pro Tip: Start with a small test batch, especially for wraps and polish. It’s easier to adjust a cup of wax than to fix a ruined yard of fabric.
How Do You Get Wax Out of Glass and Fabric?
Cleaning up after a melt session is where most of the mess actually happens, and the fix depends on the surface.
- For jars and glass containers, freeze first and pop the wax out in one piece, or use the hot water pour method described earlier. Both leave the glass reusable for a new candle or repurposed as storage for craft supplies or engraved decor pieces.
- For fabric and carpet, thermal transfer is the most effective first step. Place the stained area between two sheets of absorbent paper, such as a paper bag or paper towels, and press with a warm iron. The heat pulls the melted wax up into the paper instead of pushing it deeper into the weave.
- For leftover oily residue, dish soap and warm water usually finish the job. If a faint stain remains, applying alcohol with a cotton swab for about 20 minutes before washing normally lifts what soap alone can’t.
Never pour strained wax solids into a sink or toilet. Let them harden completely and toss them in the trash, or better yet, save them for your next reclaiming batch.
Can You Mix Different Types of Wax Together?
Beeswax, paraffin, and soy wax behave differently once melted, so blending them without a plan can backfire. Beeswax has a higher melting point and firmer texture than paraffin or soy, which means a candle poured from a careless mix might burn unevenly or develop a soft, sagging shape.
- Keep beeswax separate from paraffin and soy when precision matters, like in taper or pillar candles meant to hold their shape.
- If you’re topping off a mold, adding 5 to 10 percent fresh beeswax to reclaimed wax helps fill in detail and prevents the sunken craters that show up when wax shrinks as it cools.
- Test fragrance oils in small batches first. Wax melts can generally handle a heavier scent load than candles, since melts release fragrance through heat alone rather than a flame.
- Pour temperature affects finish more than most beginners expect. Pouring reclaimed beeswax too hot or too cool into a silicone mold is a common cause of surface defects, so a slow, steady pour in the recommended range makes a visible difference.
Why Does Reusing Wax Actually Matter?
Reclaiming leftover wax cuts down on landfill waste and stretches your craft budget by turning scraps into new candles instead of buying fresh wax for every project. The habit fits a larger pattern: industrial researchers have found that specialty oxidized waxes help recycled polymers process more efficiently, showing that reworked wax has genuine material value well outside the craft room.
That pattern holds at a bigger scale too. One study found that mixed waste plastics converted into wax achieved high yields suitable for use in hot melt adhesives, matching the performance of adhesives made from virgin material. If wax recovery works at an industrial level, a jar of scraps on your kitchen counter is a small but legitimate part of the same idea.
An Author’s Note on Working With Reclaimed Wax
Working reclaimed wax into something usable gets a lot easier with the right mold. A reusable silicone mold releases cleanly, which matters more with reclaimed wax since it can behave slightly differently batch to batch. Always pour a small test batch before committing a full pot of hard-won reclaimed wax to a big project. It saves both wax and frustration.
— Marks
A Simple Next Step for Recasting Reclaimed Wax
If you’ve got a pot of strained, ready-to-pour wax and nowhere shaped to put it, that’s the gap Latviancandles fills. Instead of pouring reclaimed wax back into the same old jar, a reusable silicone mold turns it into tea lights, small pillars, or a decorative shape you’d otherwise have to buy new wax for.

Latviancandles offers over 180 mold designs built specifically for beeswax, including the Bees on Cells mold for small pillars and the Bee Cells Tea Lights mold for quick, low-waste batches using scraps you’ve already reclaimed. If you’re just getting started, the DIY candle making starter kit bundles molds and accessories so your next reclaiming session ends with a finished candle instead of a shapeless block in the freezer. Browse the full mold collection and pick a shape for your next batch.
Sources
- Remove stains from candle wax (Extension textile care guide)
- Oxidized waxes, recyclable materials, and the circular economy (Trecora)
- Upcycled waxes used in hot-melt adhesives (journal article)
- Solar box recovery of mixed-wax candle fragments and reuse (Energy Storage and Conversion)
FAQ
Can You Reuse Wax With a Wick Still Stuck to the Bottom?
Yes, but pull the wick and metal tab out before melting since they don’t melt cleanly and can contaminate the wax or clog your strainer.
What Temperature Should You Melt Reclaimed Beeswax At?
Keep reclaimed beeswax between 160°F and 180°F using a double boiler or water bath, and always melt with a thermometer rather than guessing by eye.
Can You Mix Paraffin and Beeswax Together?
You can blend small amounts, but because beeswax has a higher melting point and firmer texture, keeping the two separate gives more predictable results in shaped candles.
Are Silicone Molds Better Than Jars for Reclaimed Wax?
Reusable silicone molds like those from Latviancandles release cleanly and handle the slight batch-to-batch variation of reclaimed wax better than reusing an old glass jar.
How Do You Get Wax Out of Fabric Without Damaging It?
Place the stained area between absorbent paper and press with a warm iron to lift the wax, then treat any leftover oily mark with dish soap or a light alcohol application.


